Every workflow you build eventually hits the same wall: you don't want to do the same thing to every item. Some orders should go straight through. Others need a human to look at them first. At some point your automation has to make a decision, and up to now everything in n8n has just marched forward in a straight line.
The IF node is where that changes. It looks at each item, checks a condition you write, and sends it down one of two roads — true or false. That's the whole idea. But there's a very specific way it can quietly fail, where a run finishes green and looks completely fine while items disappear from the workflow with no error at all. I want to build the whole thing with you, on purpose, including that failure, so you actually see it happen once before it happens to you for real.
New to n8n? Start with the complete beginner's guide — nodes, items, and expressions explained once with the whiteboard diagrams — then come back here.
What the IF node actually is
The IF node isn't a filter. That distinction matters more than it sounds like it should. A Filter node has one output — items either pass through or they're gone, full stop, and that's the right tool when you genuinely don't want the failing items anymore.
The IF node has two outputs, sitting side by side on the canvas the moment you add it. Every item that comes in goes out one of them: the top one if your condition is true, the bottom one if it's false. Nothing is discarded by the node itself — you decide what happens on each road by wiring something (or, as you're about to see, by not wiring something) to each output.
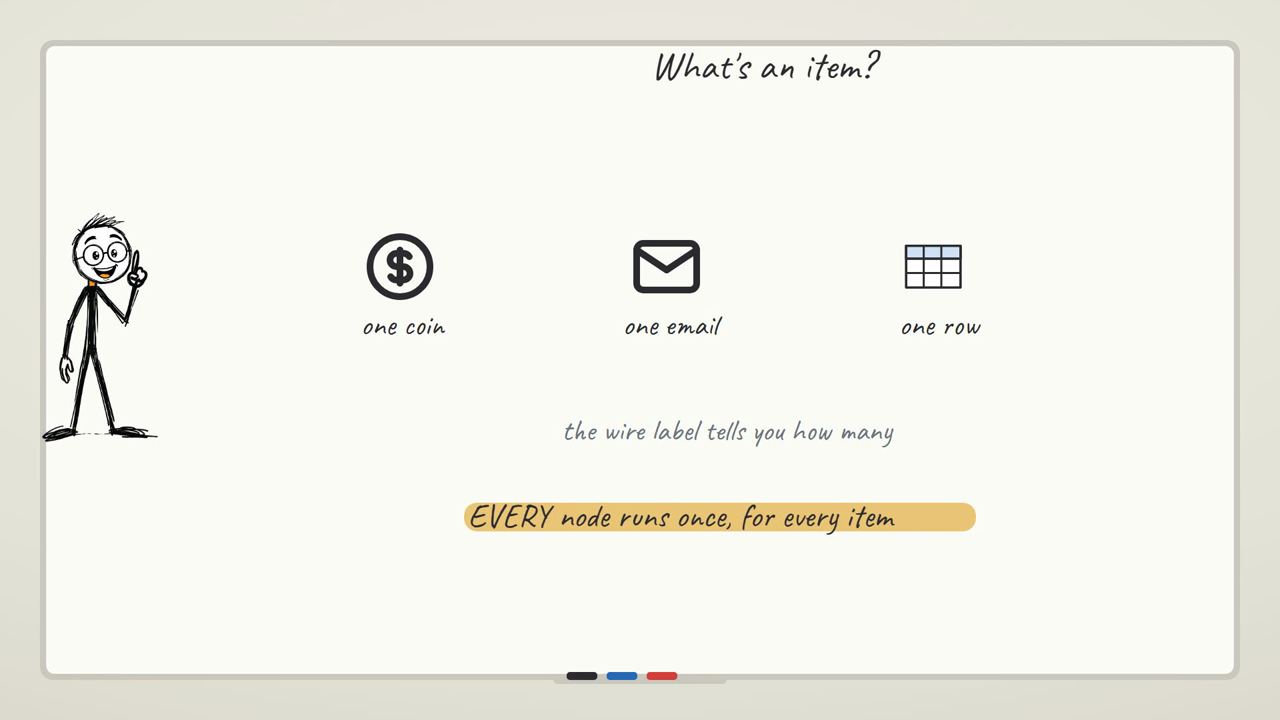
That's worth pinning down before we go further, because the IF node evaluates one item at a time. If ten orders flow into it, some go left, some go right, and by the time you're looking at the output panel you're really looking at two separate little piles.
n8n actually gives you three different nodes for "decide what happens to an item," and picking the wrong one is the most common confusion I see. Here's how to tell them apart before you build anything:
Which node do you actually need?
The scenario we're building
Here's the thing we're actually going to build, and everything below refers back to it: an order-approval workflow. Orders under $500 auto-approve. Orders of $500 or more get flagged for manual review. It's a genuinely common shape — refunds, expense claims, discount codes, anything with a threshold where small stuff should just go through and big stuff needs eyes on it.
Four pieces: a Manual Trigger to kick things off, an Edit Fields node that stands in for "a real order arriving" by setting a test orderAmount, the IF node doing the actual check, and something wired to both of its outputs so we can watch which one lights up.
Building it
Step 1 — the trigger and a fake order
Add a Manual Trigger first — that's your "Execute workflow" button, and it's the easiest way to test something over and over while you're building it, before you ever hook up a real form or webhook.
Off its output, add an Edit Fields (Set) node. This is standing in for wherever your real order data would come from — a webhook, a form, a database row. Give it one field: click into the assignment area, name it orderAmount, and for the value type 350. Leave the type dropdown alone for a second — we'll come back to why that matters in a minute, because it's the exact spot where the second gotcha in this post lives.
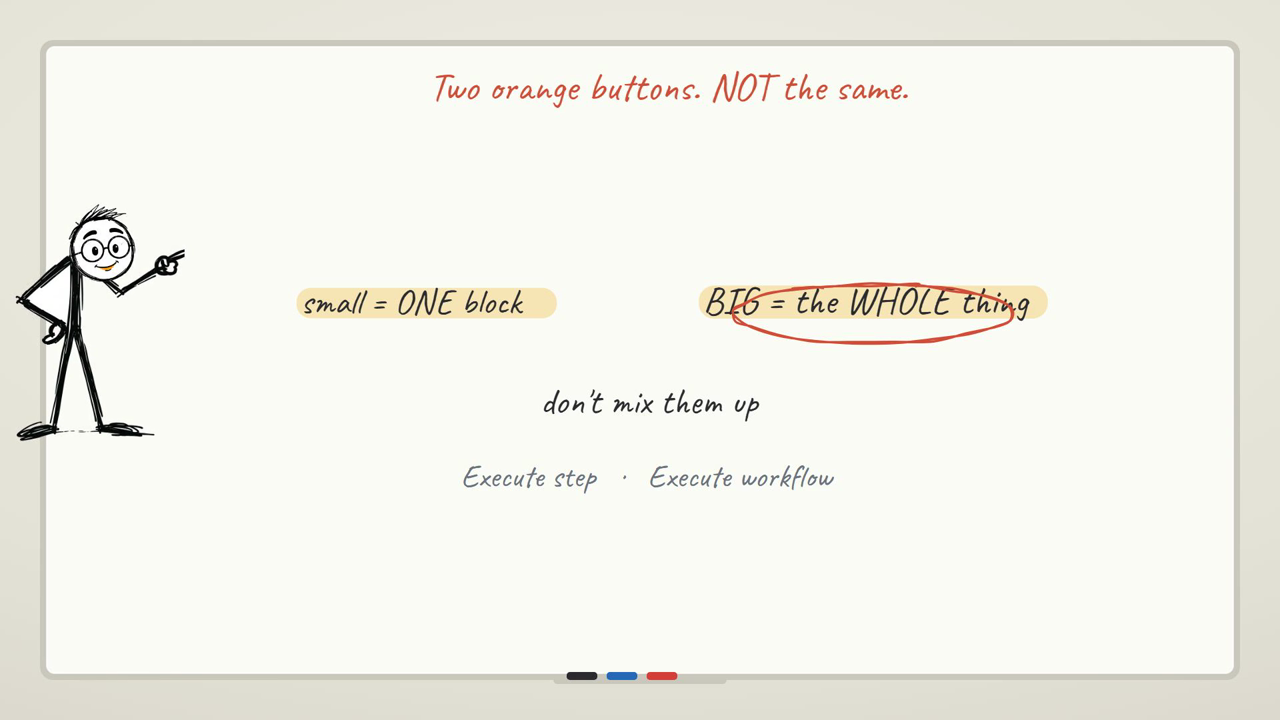
Run it — there's a play icon on the node itself, or the big Execute workflow button at the bottom. Worth knowing the difference: one runs just that node so you can check its output before wiring the next thing, the other runs everything downstream from the trigger.
Click the node and look at the output panel. You should see one item with orderAmount: 350. If you see it inside quotes, as text, catch that now rather than three steps from now — it's exactly the kind of thing that trips up the type-switch gotcha further down.
Step 2 — the IF node itself
Off the Edit Fields node's output, add an IF node. Search "If" in the node picker — it's the node called simply "If."
The moment it lands on the canvas, look at it: it already has two output handles, one under the other, even before you've set a condition. That's the shape of the whole node in one glance.
Open it and set the condition:
- Left value — point at
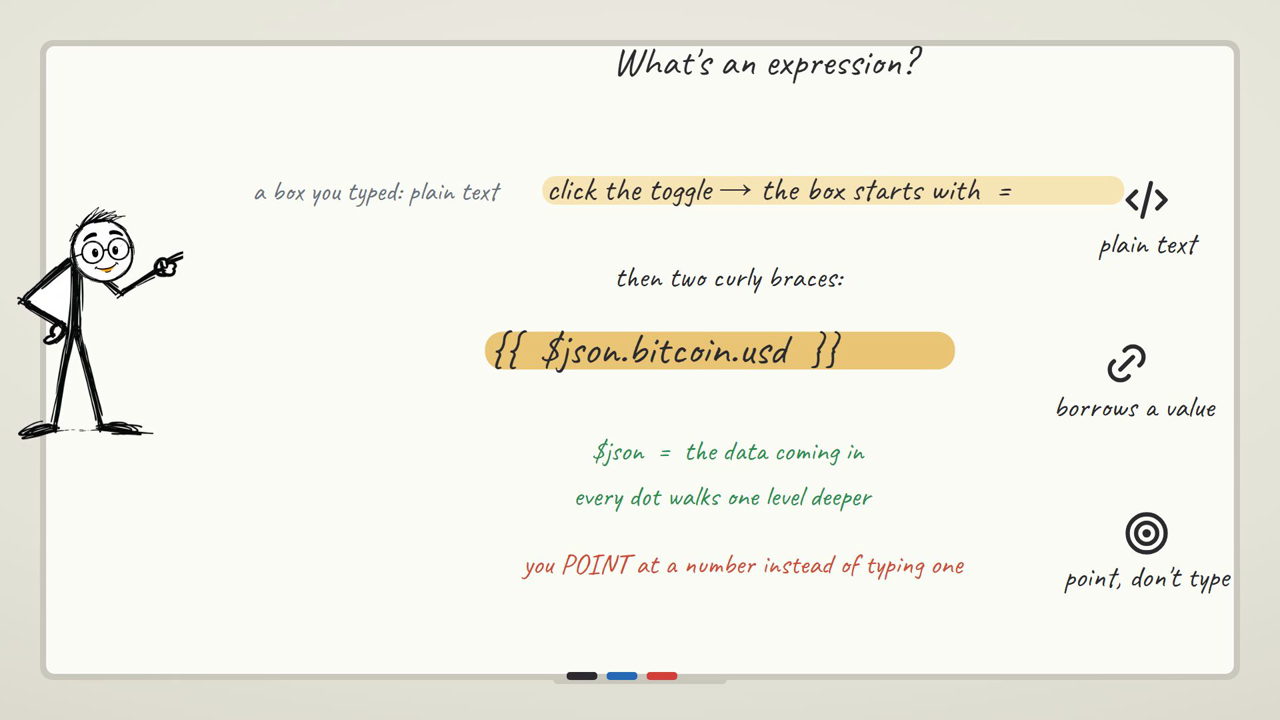
orderAmountfrom the previous node rather than typing it out by hand. n8n gives you drag-and-drop for this, and it's worth using — a hand-typed expression is where typos live. - Operator — click the operator dropdown. This isn't one flat list. It opens a type menu first (String, Number, Date & Time, Boolean, Array, Object), and picking a type opens a second menu with the operators that actually make sense for it. For a number, you want Number, then is greater than or equal to.
- Right value — type
500.
Run it with orderAmount still at 350. Click the node and look at the two output columns in the panel — the item should sit in the false side, because 350 is not greater than or equal to 500.
Step 3 — wire BOTH outputs, on purpose
This is the step the whole post exists for.
Add an Edit Fields node off the IF node's top output (true) and set one field on it — status = Flagged for Review. That's your "this needs a human" branch.
Now, before you do anything else: run the workflow again with orderAmount still at 350 and only that top branch wired. Watch what happens.
The run finishes. It goes green. Nothing looks wrong at all. But click on the IF node's output and look at the bottom column — the false side — and the item is sitting right there, having gone exactly where it should. The problem isn't the IF node. The problem is what happens next: because nothing is connected to that false output, the item just stops existing as far as the rest of your workflow is concerned. There's no red border on anything. No warning icon. No error in the execution log. The run reports success because, technically, it was one — every node that did run, ran correctly. You'd only ever notice this because a customer emails asking where their $350 order went, and you go looking through the execution history trying to find a failure that was never logged as one.
So: add a second Edit Fields node off the bottom output too, set status = Auto-Approved, and now both roads actually go somewhere.
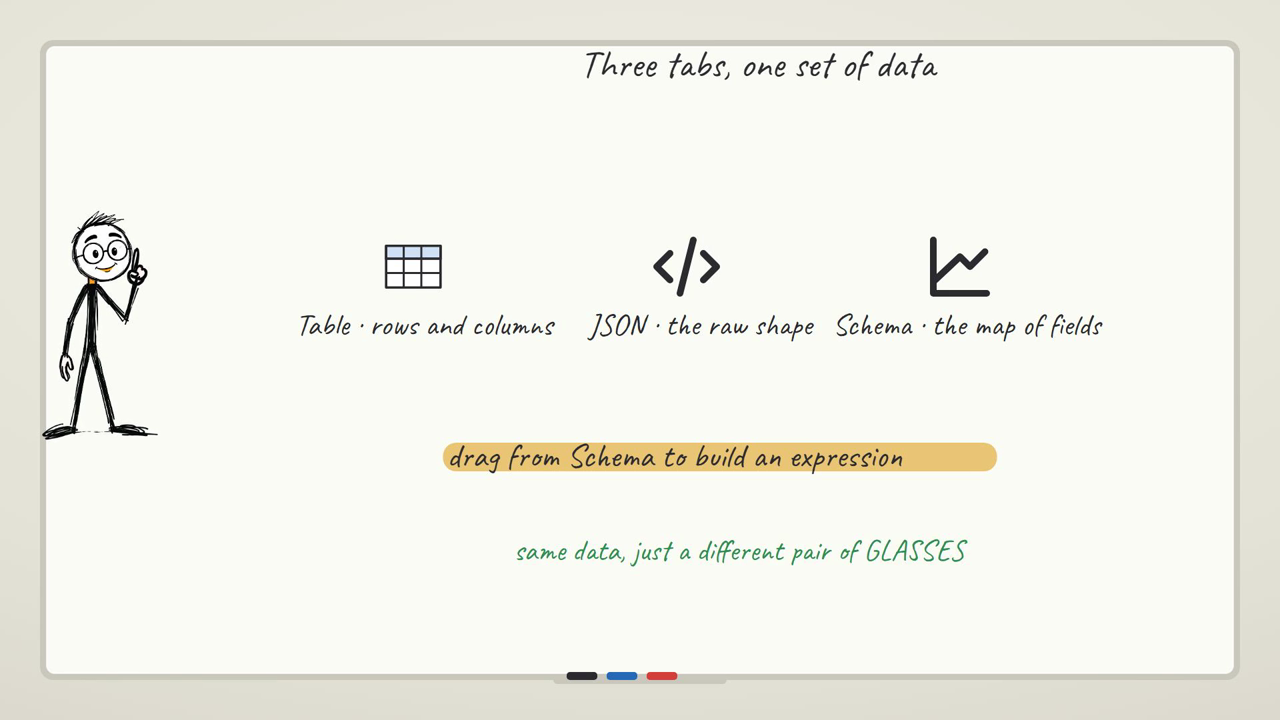
Run it once more. Open the IF node's output panel and switch between the Table and JSON views if you want to see the item's shape more clearly — with orderAmount at 350, the item lands in "Auto-Approved," and the "Flagged for Review" branch's output panel is simply empty. That's normal now, because it's wired — an empty branch with a connection downstream isn't a lost item, it's just a road nothing happened to travel down on this particular run.
Step 4 — watch it actually switch
Go back to the Edit Fields node from Step 1 and change orderAmount from 350 to 750. Run the whole workflow again.
This time, open the IF node and look — the item is in the true column. Follow it down to "Flagged for Review" and its output panel now has the item, with status: Flagged for Review. The "Auto-Approved" branch is empty this time. Same workflow, same nodes, different number in, different road taken. Flip the number back and forth a couple of times and watch the green highlight move between the two output columns.
The part that breaks — the type-switch trap
There's a second gotcha in this node, and it's sneakier because it doesn't announce itself with an empty panel — it announces itself with a condition that silently never matches.
Go back into the IF node and open the operator dropdown again. Say your condition is currently set up as String → is equal to, and you switch the type to Number. Do this on a condition you've already filled in with values, and watch the value fields — they clear. Not always obviously, not with a warning, they're just gone, and it's easy to not notice because you're focused on picking the new operator, not on the fields you already typed a minute ago.
The fix is just an ordering thing once you know it exists: pick the type and the operator first, then type your values in. Set up the condition shape, then fill it in — not the other way round.
There's a smaller cousin of this bug worth watching for too. The right-hand value field doesn't clear itself when you click back into it and start typing a new number — it just appends to what's already there. Type 500, decide that's wrong and you meant 1000, click back in and type 1000 in front of it without clearing first, and you can end up with the field actually holding 1000500. The condition looks fine at a glance. It just never matches anything. If a threshold you're sure is right keeps not triggering, that field is the first thing worth clicking into and reading character by character, not retyping over.
A second condition — AND vs OR
Real approval rules are rarely just one number. Let's extend the same order — not swap it for a new example — by adding: flag it for review if the amount is $500 or more, OR the order is international.
Add another field to your Step 1 Edit Fields node — a boolean called isInternational, set to true for testing. Then back in the IF node, click Add condition to add a second row: isInternational is true.
Above the condition list there's a toggle for how multiple conditions combine — AND or OR. With AND, an item only goes true if every condition passes — a $50 international order would fail an AND check meant to catch either case, which isn't what we want. Switch it to OR, and an item goes true if either condition is met — the $50 international order gets flagged even though the amount alone wouldn't have caught it.
Test it: set orderAmount back to 350 and isInternational to true, run it, and watch the item land in the true branch anyway — flagged not because of the amount, but because of the second condition. That's the difference between the two settings made visible in your own workflow, not just described.
Where to take it
- Chain a second IF off the false branch — for orders under $500, you might still want to split "under $50, skip logging entirely" from everything else, which is just another IF hanging off the output you already have.
- Feed the true branch into something that actually notifies someone — an email or Slack message off "Flagged for Review" turns this from a routing diagram into a working alert.
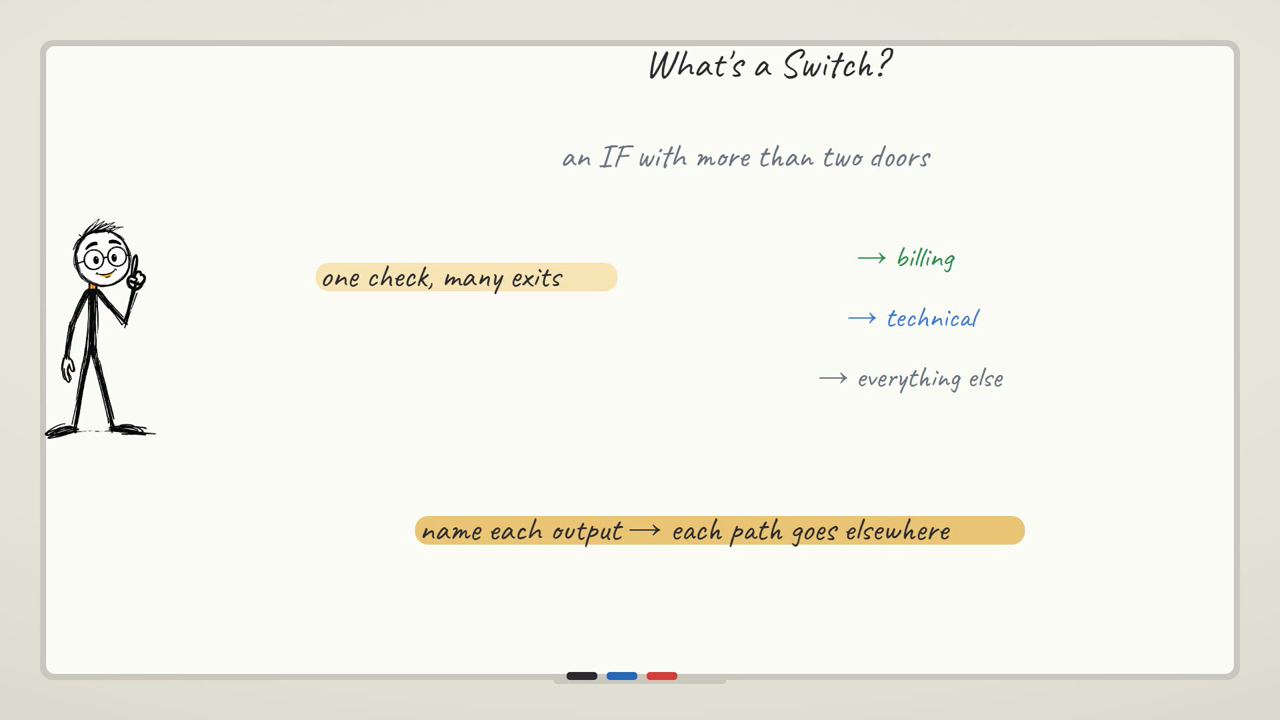
- When you outgrow two roads, look at the Switch node — it's the same idea as IF but with as many outputs as you need, instead of just true/false.
- If what you actually want is to drop the failing items rather than route them anywhere, that's the Filter node — worth reading if you're not sure which of the two you need, along with how Merge brings two branches like these back into one afterward.
- See branching used inside a full working automation, not just a demo, in 3 real automations you can build today.
Since Filter, IF, and Switch all get reached for in the same moment — you've got items and need to decide what happens to them — it's worth having them side by side once, rather than re-deriving the difference every time:
| Node | Outputs | What happens to non-matching items | Reach for it when |
|---|---|---|---|
| Filter | One | Dropped. Gone. No branch, no error, they just don't come out the other side. | You genuinely don't want the non-matching items anymore — cleaning a list, not routing it. |
| IF | Two (true / false) | Nothing is dropped by the node — every item exits true or false. It only vanishes if you leave one of the two outputs unwired, which is the gotcha this whole post is about. | You have exactly two outcomes and both need to lead somewhere — approve vs. review, pass vs. flag. |
| Switch | As many as you define (plus a fallback) | Same idea as IF — the node itself doesn't discard anything, an output just needs to be wired for its items to continue. | Two roads aren't enough — you're routing by category, tier, or status with three or more distinct outcomes. |
Where you'd actually use this
Order approval that actually notifies someone
This is the scenario built above, taken one step further: the true branch (flagged for review) doesn't just get a status field — it feeds into an email or Slack node addressed to whoever handles reviews, so a $500+ order actually surfaces instead of sitting in a workflow log nobody checks. The false branch (auto-approved) can go straight to whatever fulfils the order. Two outputs, two completely different downstream jobs, same IF node deciding which is which.
Support ticket triage by more than two tiers
Once "urgent vs. not urgent" isn't enough — you've actually got low, medium, high, and critical — that's the point where reaching for a second IF chained off the false branch gets messy fast, and a Switch node with four outputs (one per tier) reads far more clearly on the canvas. Each output routes to a different response time: critical pages someone immediately, low just logs to a sheet.
International orders that need a second check regardless of amount
This is the AND/OR condition from above, put to work: a $50 international order and a $600 domestic order both need to be flagged for review, just for different reasons — so the IF node's condition is amount ≥ $500 OR isInternational is true, combined with OR rather than AND. Get that toggle wrong and set it to AND instead, and the cheap international order silently sails through as auto-approved, because it fails the amount check even though it should have been caught by the other one.
Get the next one
If the empty-branch problem in this post made you go check a workflow you already built, that's exactly the kind of thing I cover every time — the failure mode nobody mentions until it's cost you an afternoon. Subscribe and the next automation build lands with the gotchas already flagged, not left for you to find the hard way.
For the full map of everything n8n-related on the site, the n8n hub has every guide in order.
FAQ
What's the actual difference between the IF node and the Filter node?
The IF node has two outputs and routes every item somewhere — true items one way, false items the other, and you decide what each side does. The Filter node has one output and simply drops items that fail the condition; they don't go anywhere, they're gone. Use IF when both outcomes need to lead somewhere in your workflow (like approve vs review). Use Filter when you genuinely just want to discard the ones that don't match.
Why did my run show green with no error, but an item never showed up downstream?
This is almost always the unwired-output problem covered above: the item passed through the IF node onto an output (true or false) that isn't connected to anything else. n8n doesn't treat an unwired output as an error — the node did its job correctly. Check both output columns in the IF node's execution panel; if the item is sitting on the side you forgot to wire, that's your answer.
Can I add more than two conditions to one IF node?
Yes — click "Add condition" as many times as you need, and choose AND (every condition must pass) or OR (any one condition passing is enough) for how they combine. If you find yourself wanting more than two outputs, though, that's usually a sign to reach for the Switch node instead, since IF only ever gives you true and false no matter how many conditions feed into that single decision.
Why did my condition stop matching after I changed the operator?
Switching the data type on a condition (String to Number, for example) clears the values already typed into that condition. Set the type and operator first, then fill in the comparison values — not the other way around — and this stops being an issue.
My number condition just won't match even though the values look right — what's going on?
Check the right-hand value field character by character. It doesn't clear automatically when you click back in and retype, so a value you "corrected" can end up appended to the old one — turning 500 into something like 1000500 without it being obvious at a glance.
Does the order of the two outputs matter — is true always on top?
Yes, true is the top output and false is the bottom one, consistently. It's worth remembering because it's easy to wire something to the wrong one out of habit, especially if you've been working fast and stop double-checking which handle you're dragging from.


