You've watched three "n8n in 10 minutes" videos and you're still lost, because every one of them assumes you already know what a node is, what a trigger does, and why the panel on the right keeps changing shape. Nobody starts at the actual start. This guide does.
By the end you'll know every core idea in n8n — not by definition, but by having watched it happen on a whiteboard and then built it yourself — and you'll have one real workflow running: a trigger that fetches a live price off the internet and shows you the actual number. Not a toy. A real HTTP call, a real response, read on your own screen.
One honest note on the "2026" in the title, because that word gets abused everywhere: it earns its place here because a few things about n8n are just true now that weren't a couple of years ago. AI agents aren't a bolted-on extra anymore — they're a normal node type sitting next to your HTTP requests and spreadsheets. Self-hosting is genuinely free and takes one Docker command, not a weekend of config. And there's a thing called MCP that lets an AI agent reach out and use other tools, not just answer questions. That's the landscape you're actually walking into. I won't keep repeating the year at you after this — it doesn't need repeating, it's just the truth of what the tool is right now.
The order nobody gave you
Here's the part nobody tells you when you start: it isn't that you're slow. It's that every tutorial you've watched was scattered — a tip here, a node there, a workflow someone speed-ran in four minutes — and nothing ever told you which one to watch first. Random tips aren't a course. Without an order, you're just picking things up in whatever sequence YouTube happened to recommend them, and that's why you can watch for hours and still not have built anything that works.
So this site has an order, and it's below. Twenty-four videos, already up, already free, climbing in five stages:
- The basics — the handful of words (trigger, node, item, expression) that carry almost the entire vocabulary. That's Part 1 of this guide, right below.
- Live data — pulling real numbers in from the outside world instead of a canned tutorial API.
- AI — giving a workflow the ability to think about what it's given, not just move it around.
- Agents — letting AI decide what to do next, and actually call tools to go do it.
- Finished builds — real automations, start to finish, that you keep and can point at your own data.
Every video works on its own — land on video nineteen having watched nothing else, and it still makes sense. But the stages stack, so going in order is genuinely faster: each one only assumes what the last one taught you.
The rest of this page is stage one, done properly — the vocabulary, in full, followed by the one workflow you'll actually build with it.
Part 1 — the vocabulary
Nine words carry almost the entire vocabulary of n8n. Here they are in one place before you meet each one properly — bookmark this table, because you'll want to come back to it the first time you're mid-build and blank on what something's called.
| Term | What it is, in one line | Where you actually see it |
|---|---|---|
| Workflow | One whole chain of boxes that does one job, start to finish | The tab you're working in |
| Canvas | The empty space you drag nodes onto | The big area behind everything |
| Node | A single step — fetch, change, decide, or send | A box on the canvas with a name and an icon |
| Trigger | The one node that starts the whole workflow | Always the leftmost box, no input arrow |
| Item | One unit of data — one email, one row, one price | The number in the corner after you run a node |
| JSON | The format every item is written in, { field: value } |
The JSON tab in the output panel |
| Expression | A pointer into another node's data, {{ $json.field }} |
Any field with the little fx icon next to it |
| Credential | A stored secret — API key, password, token | The dropdown a node shows when it needs a login |
| Output panel | Shows exactly what a node produced after it runs | The panel on the right, after Execute step |
What n8n actually is
n8n is a canvas where you connect boxes, and each box does one job — fetch something, change something, decide something, send something — and the whole chain runs automatically instead of you doing it by hand. That's it. People call it "automation software," which is true but tells you nothing. The useful way to think about it: it's what you'd build if you got tired of manually checking an email, copying a number into a spreadsheet, and pinging someone on Slack — and decided the computer should just do all three, in order, every time.
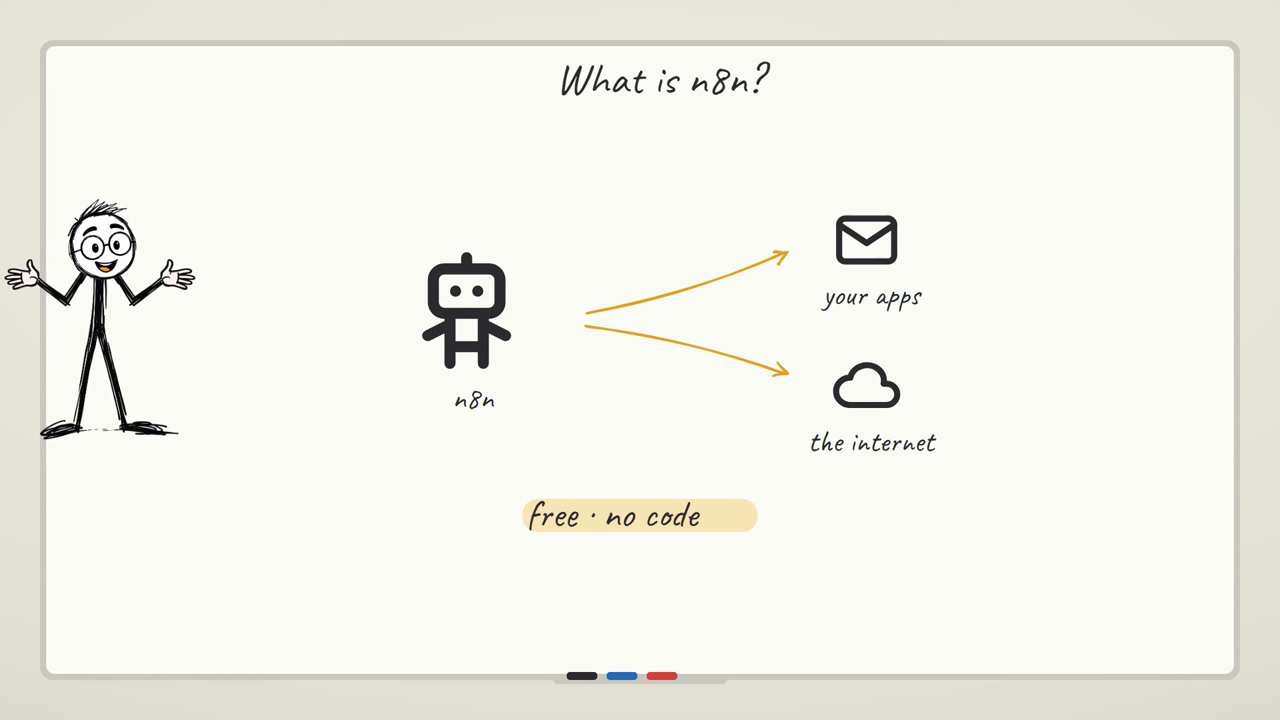
The thing that confuses people coming from Zapier or Make is that n8n shows you everything — every piece of data, at every step, in full. That's more to look at up front, but it's also why you can actually debug it when something goes wrong instead of guessing.
The workflow and the canvas
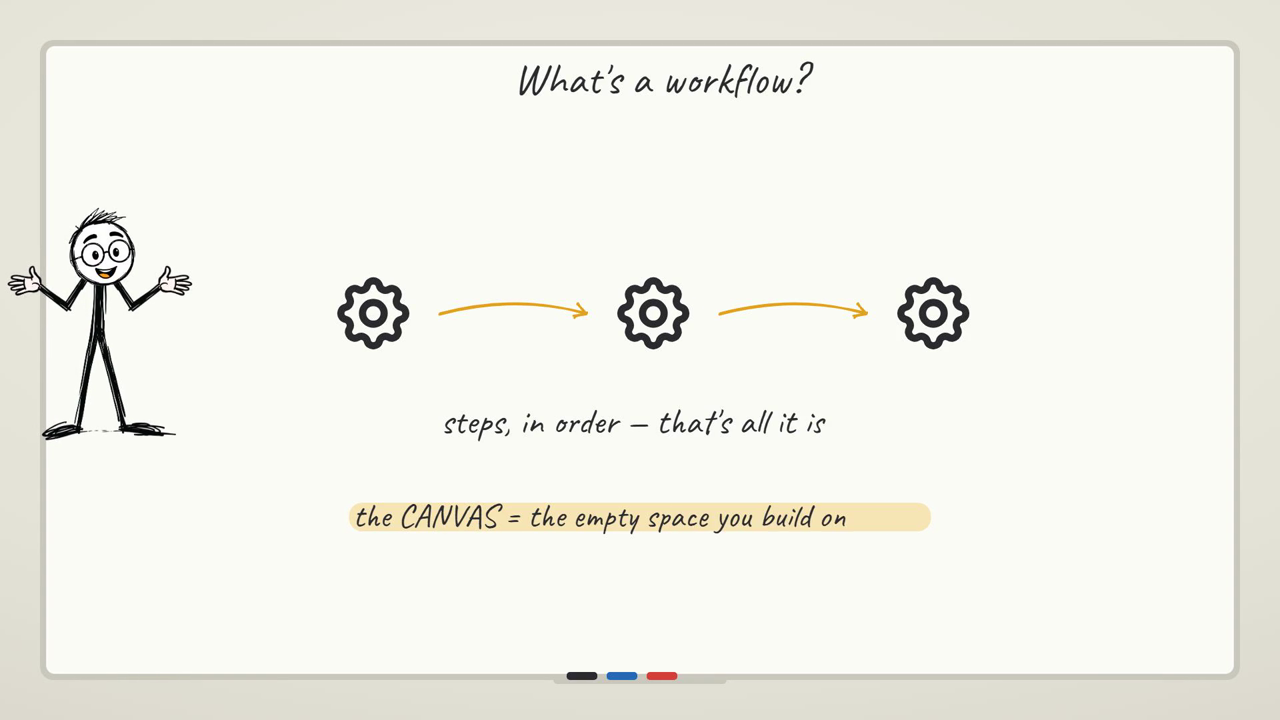
A workflow is one whole chain of boxes wired left to right (or top to bottom — it doesn't care), and the canvas is the space you build it on. One workflow is one job: "when an order comes in, check the amount, log it, and notify me" is one workflow. "When someone fills a form, add them to a mailing list" is a different one. You don't cram unrelated jobs into a single canvas just because you can.
The gotcha here is a quiet one: n8n autosaves as you work. There's no "did you mean to save that" moment. If you drag a node onto a workflow and start configuring it, that change is already part of the workflow's history — closing the tab doesn't undo it. It's convenient once you know it; it's confusing the first time you reopen a workflow and it's not the blank canvas you remember leaving.
The node — one box, one job
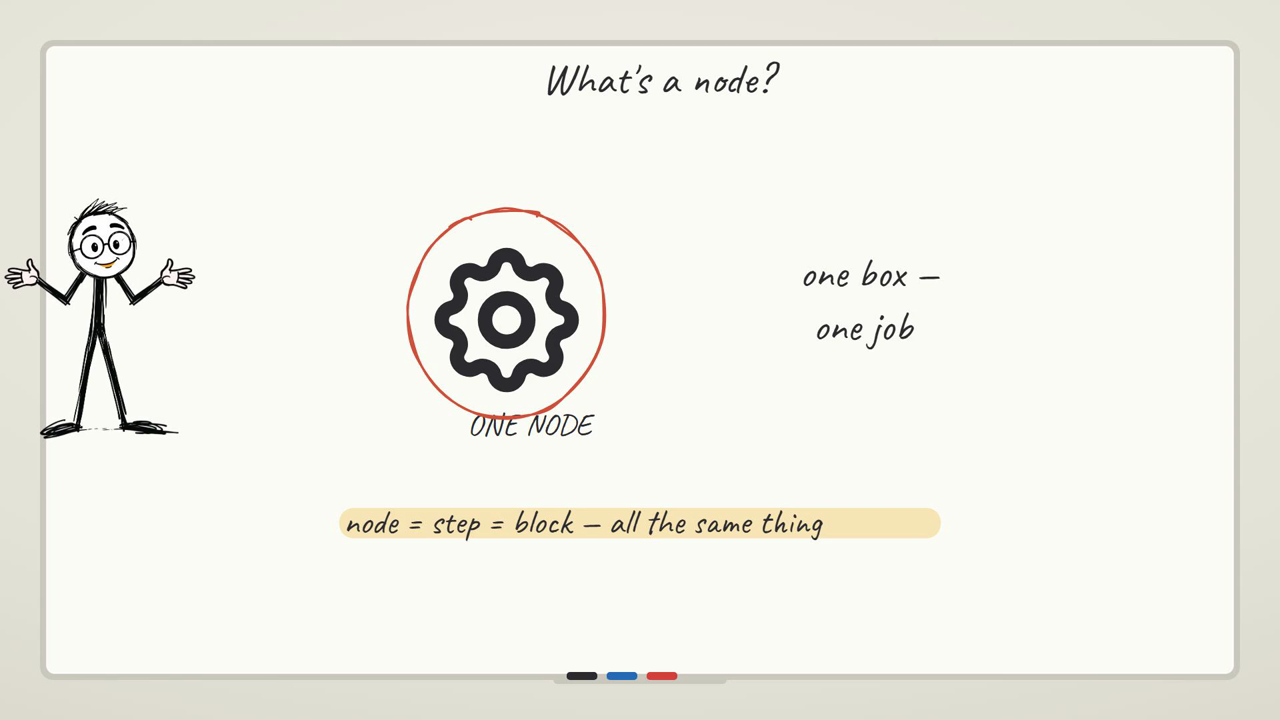
A node is a single step. One node fetches a web page. One node changes the shape of your data. One node sends a Slack message. The discipline that makes workflows readable is keeping each node doing exactly one thing — the moment a single node is trying to fetch and transform and decide, you've lost the ability to tell, at a glance, where something broke.
New nodes get added from a + on the canvas, which opens a search box — you type roughly what you want ("HTTP", "Filter", "Slack") and pick from the matching rows. The catch: some node names open a small sub-menu of specific actions before you actually get a configuration panel (the HTML node, for instance, asks whether you want to extract content, generate a template, or build a table — you're not choosing the node, you're choosing what it does). If you click the top search result and nothing seems to open, you probably landed on that in-between menu and just need to pick the specific action.
The trigger — the ON switch
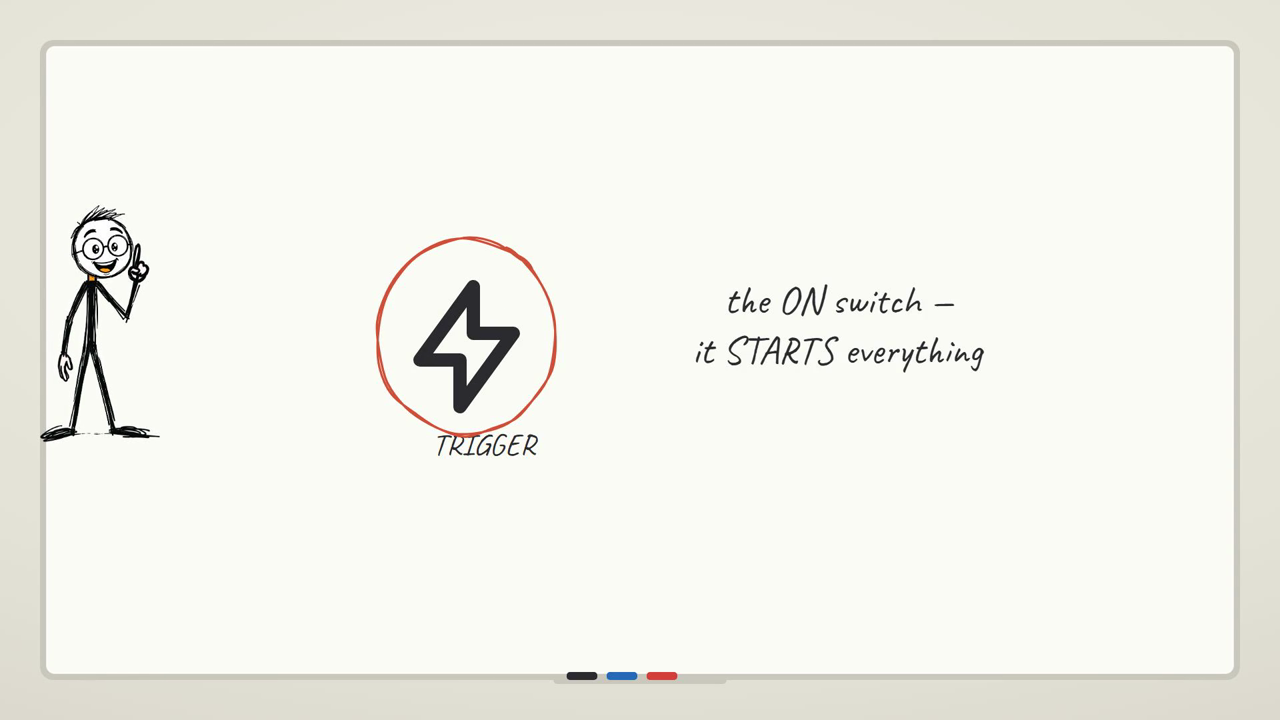
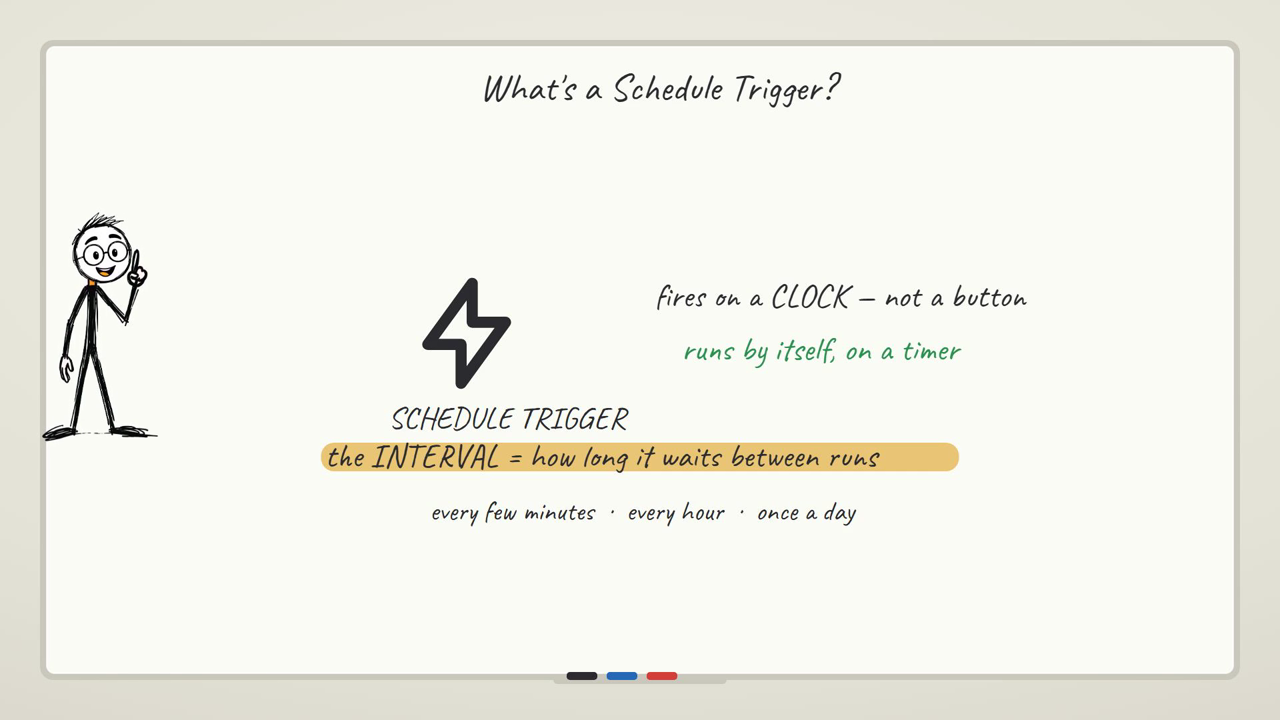
Every workflow needs exactly one starting point: the trigger. It's the answer to "what makes this run?" A Manual Trigger runs it when you click a button, on demand — the equivalent of a light switch you flip yourself, and it's what you use while you're still building and testing. A Schedule Trigger runs it on a timer (every day at a set hour). A Webhook runs it when some other system calls a web address and hands it data. Same workflow, different reason it starts.
The caveat that trips up a first build: a Schedule Trigger's defaults are not "off," they're "every day at midnight" — Trigger Interval defaults to Days, Days Between Triggers to 1, Trigger at Hour to Midnight. If you add one, do nothing else, and walk away thinking "I'll set it up properly later," you already have a live daily job. Nothing looks wrong on the canvas — it just quietly runs at 12am whether you meant it to or not.
If you're staring at the trigger list wondering which one is yours, this is genuinely the whole decision:
Which trigger do I actually need?
The item — one row, one thing
Data in n8n travels as items. One item is one unit of the thing you're dealing with — one email, one row from a spreadsheet, one coin's price. A node that pulls in ten rows from a sheet is handling ten items; a node further down the chain might keep all ten, or drop some (a Filter node), or squash them all into one (an Aggregate node).
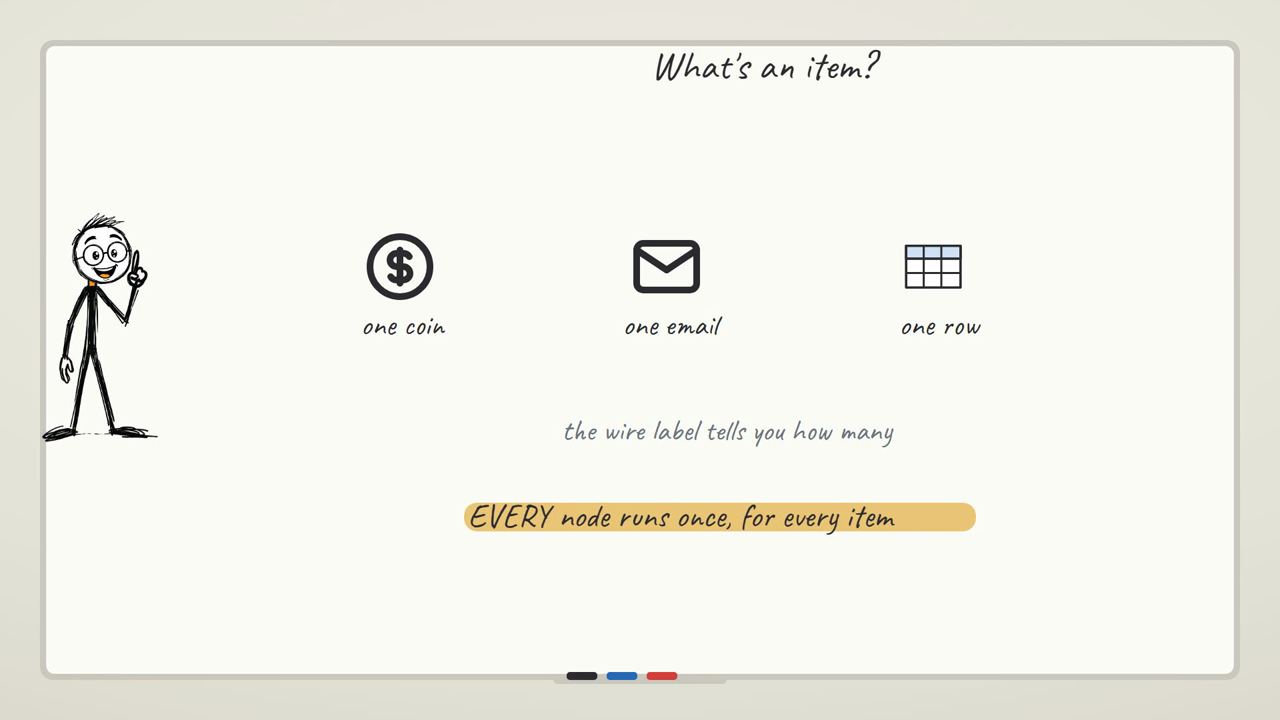
The habit worth building early: after you run a node, glance at the item count in the corner before you look at anything else. "1 item" versus "10 items" versus "0 items" tells you, in half a second, whether the step did roughly what you expected — long before you read a single field.
JSON — how the data is actually written down
Every item is written in a format called JSON — curly braces, field names, values. It looks intimidating the first time and it's really just labeled boxes: {"bitcoin": {"usd": 68000}} means "there's a thing called bitcoin, and inside it there's a number called usd, and it's 68000." Nested braces just mean a box inside a box.
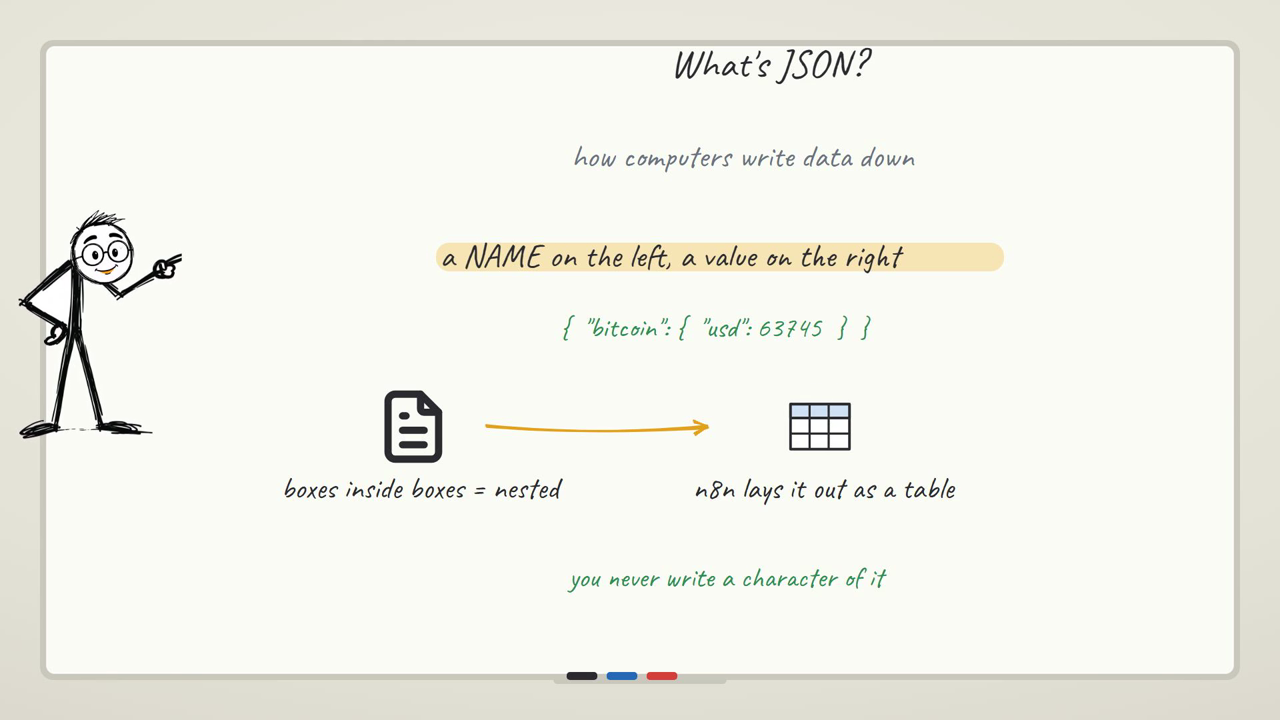
You will not hand-write much JSON as a beginner — n8n reads and displays it for you — but you do need to recognize the shape, because that shape is exactly what you point at with an expression a few sections from now. The gotcha: a JSON response wrapped in extra nesting (a data field holding another object holding your actual value) is the single most common reason a beginner's expression comes back empty — you asked for the outer box when the value was one box deeper.
The output panel — where your data actually lives
After you run a node, the output panel on the right shows you exactly what came out of it. Every question you have — "did this work," "what's actually in here," "why is my next node broken" — gets answered by looking at this panel before touching anything else.
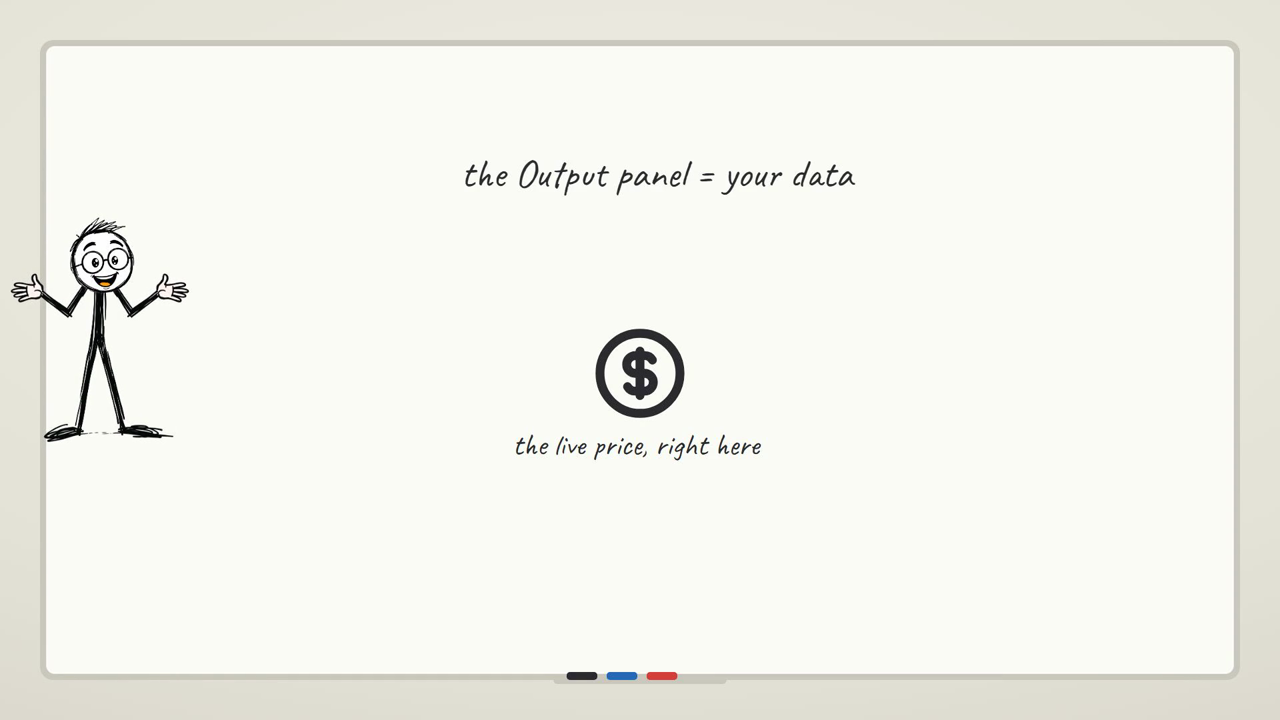
The habit to build: when a downstream node isn't doing what you expect, the fix is almost never in that node — it's in the output panel of the node before it. Go back one step and actually read what it produced.
Three ways to read the same data
The output panel isn't one view — it's three, switched by small buttons: Table, JSON, and Schema. Table gives you spreadsheet-style rows, which is great until your data has something nested inside it, because Table just can't show that — a nested object shows up as an unreadable blob. Schema is the one that actually expands nested data into a tree you can click through, which is what you want the moment your JSON has a box inside a box (which, per the last section, is most real APIs). JSON is the raw text, useful when you want to copy it somewhere.
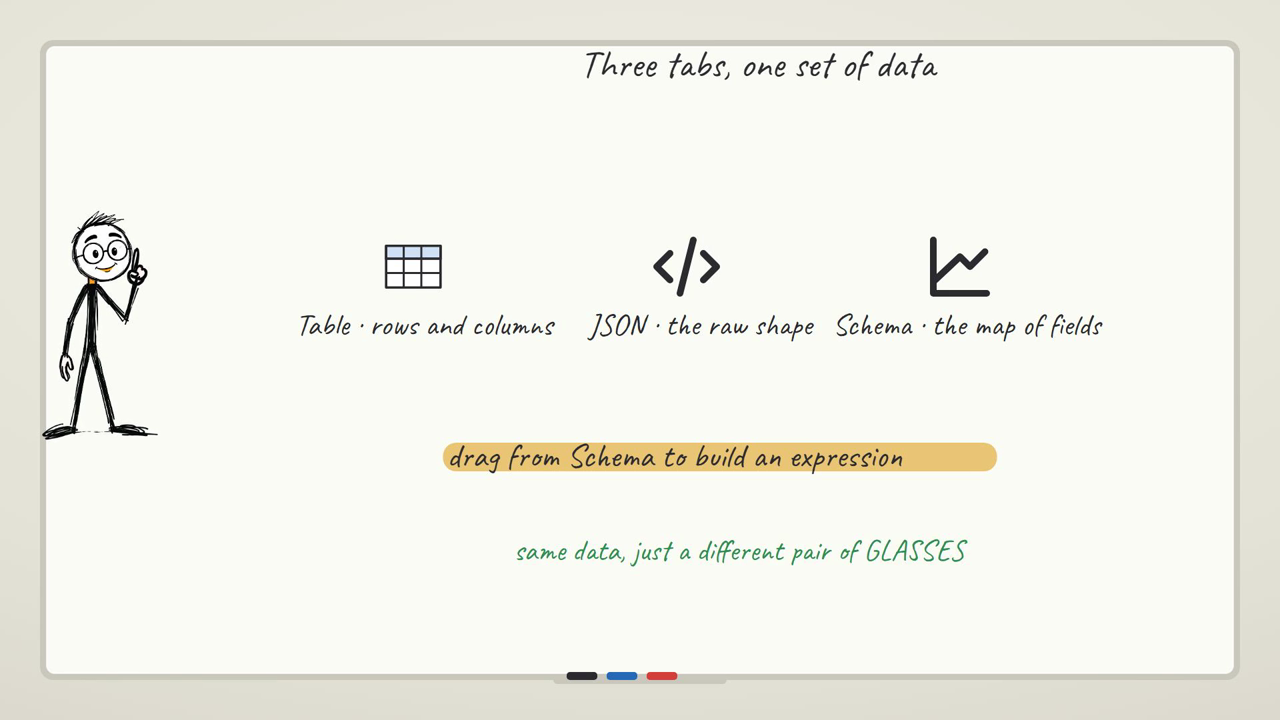
The caveat: Table is the default view, so a beginner staring at "unreadable" data in Table often assumes the node failed. It didn't — you're just looking at the wrong tab. Click Schema before you conclude anything is broken.
The two orange buttons
n8n gives you two different "run" buttons, and mixing them up is one of the first things that confuses people. Execute step runs just the one node you have open — and everything upstream of it that it needs data from — so you can check that this specific step works before moving on. Execute workflow runs the whole chain, start to finish, and lights each node green in turn as it finishes.
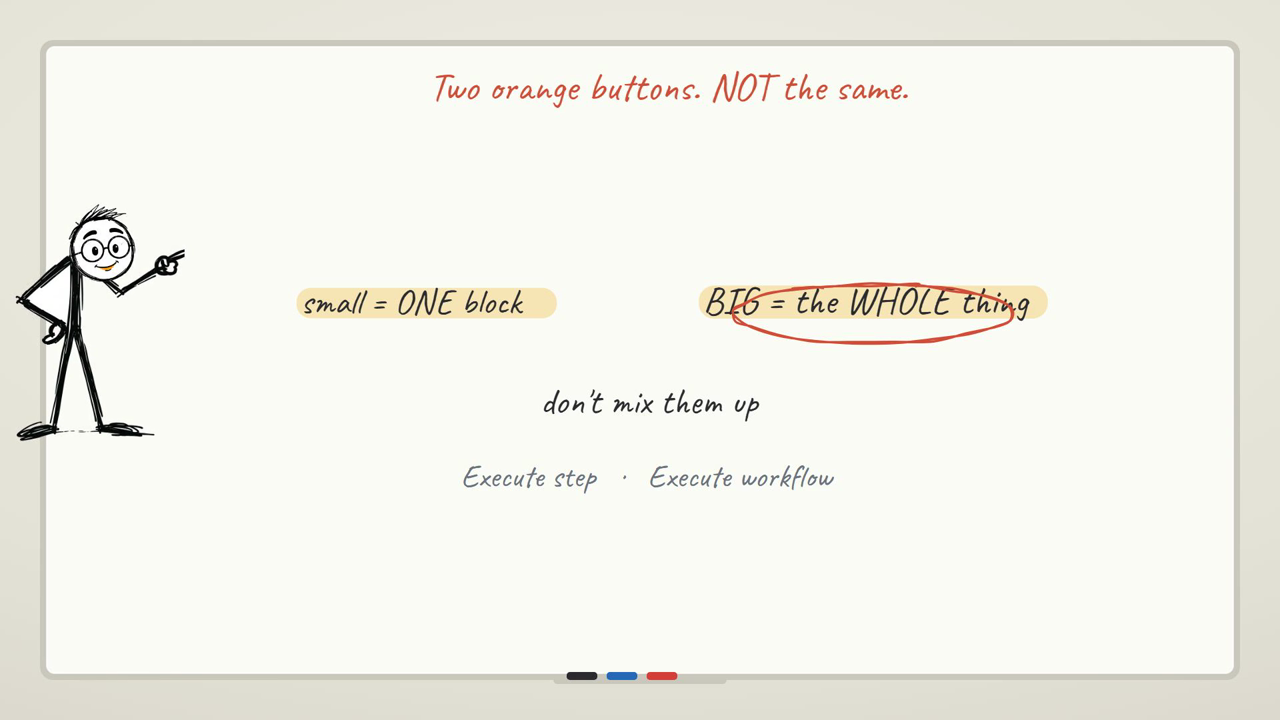
The habit worth having: build and test one node at a time with Execute step. Only reach for Execute workflow once every individual node has already proven itself — running the whole thing before you've checked any one piece just means when something fails, you're debugging four nodes at once instead of one.
Expressions — pointing, not typing
An expression is how one node reaches into the data from an earlier node. It looks like {{ $json.bitcoin.usd }} — $json means "the data sitting in front of me right now," and everything after the dot is the path down through the nested boxes to the value you want. The .usd at the end matches exactly what you saw a section ago in the Schema view of the JSON.
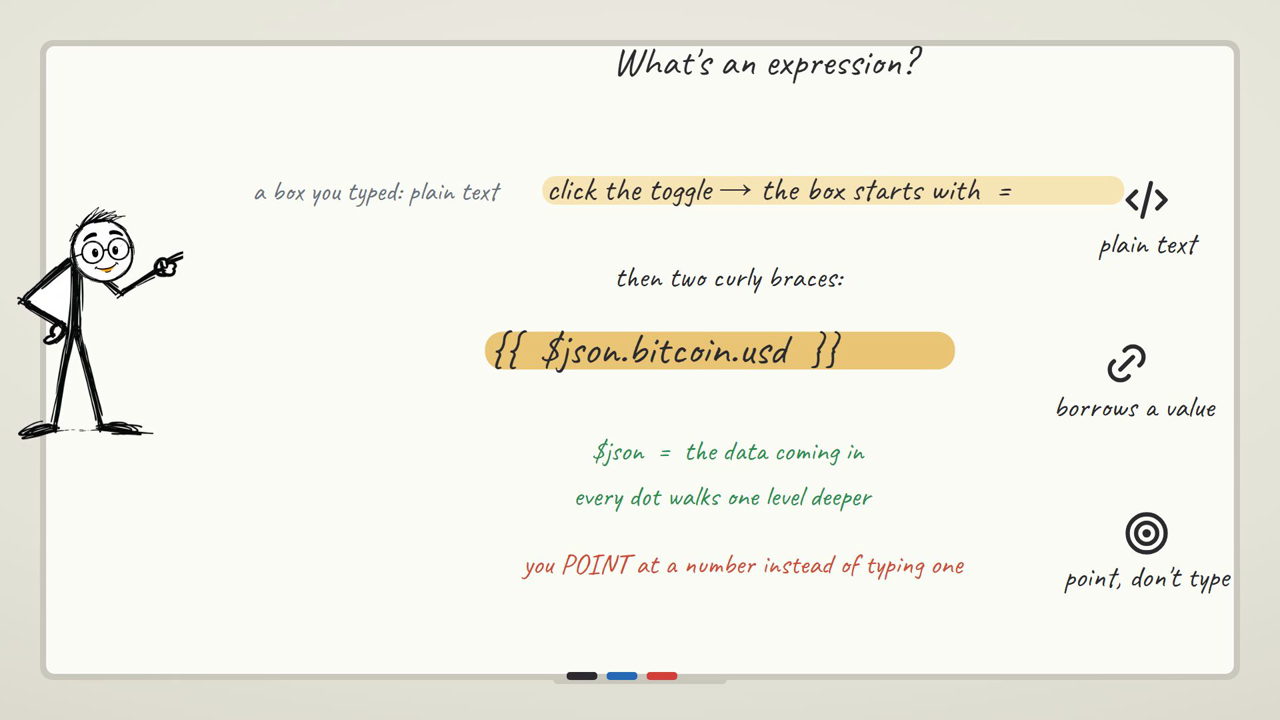
Here's the caveat, stated exactly as it happens: n8n's expression editor auto-closes brackets, so if you type {{ character by character, it inserts the closing }} for you — and if your expression already has one, you now have {{ ... }} }}, a broken expression that looks almost right at a glance and silently returns nothing. The fix that actually works: build the expression by clicking the field name in the Schema view rather than typing the whole thing by hand, or if you must type it, write it somewhere else and paste it in as one block.
HTTP — talking to the internet
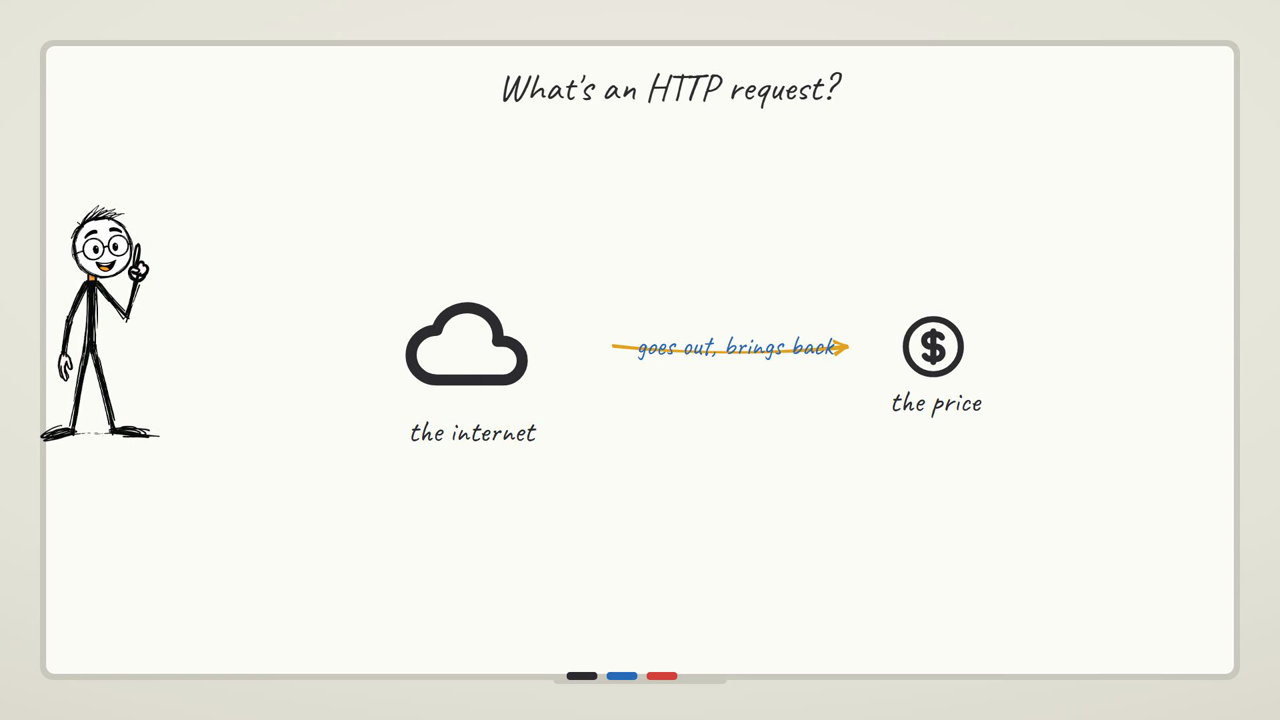
The HTTP Request node is how a workflow talks to anything outside n8n — a weather API, a crypto price service, your own server. You give it a web address, it goes and fetches whatever that address returns, and hands the response to the next node as an item.
The caveat that catches people the first time a workflow uses two containers (n8n running in one Docker box, some other service in another): localhost inside one box does not mean the other box. A URL that works fine when you paste it into your own browser can fail from inside the workflow with nothing more than a timeout, because the node isn't running on your machine — it's running inside its own little sealed environment. If an HTTP call to something running alongside n8n mysteriously times out, that's usually the reason, not a broken URL.
If you're ever unsure what an API is actually sending back before you build the HTTP Request node around it, open the same address in your browser first and check it with Chrome's Network tab — seeing the real headers and response shape there saves a lot of guessing once you're inside n8n. And for the official word on any given node or authentication method, n8n's own documentation is the source the community itself works from.
Credentials — the locked vault
Some nodes need to prove who you are before a service will talk to them — an API key, a password, a token. n8n stores these as a credential: you paste the secret in once, name it, and every node that needs that same login just picks it from a list afterward. You never retype it, and you never see it again in plain text once it's saved — the field that holds it is masked.
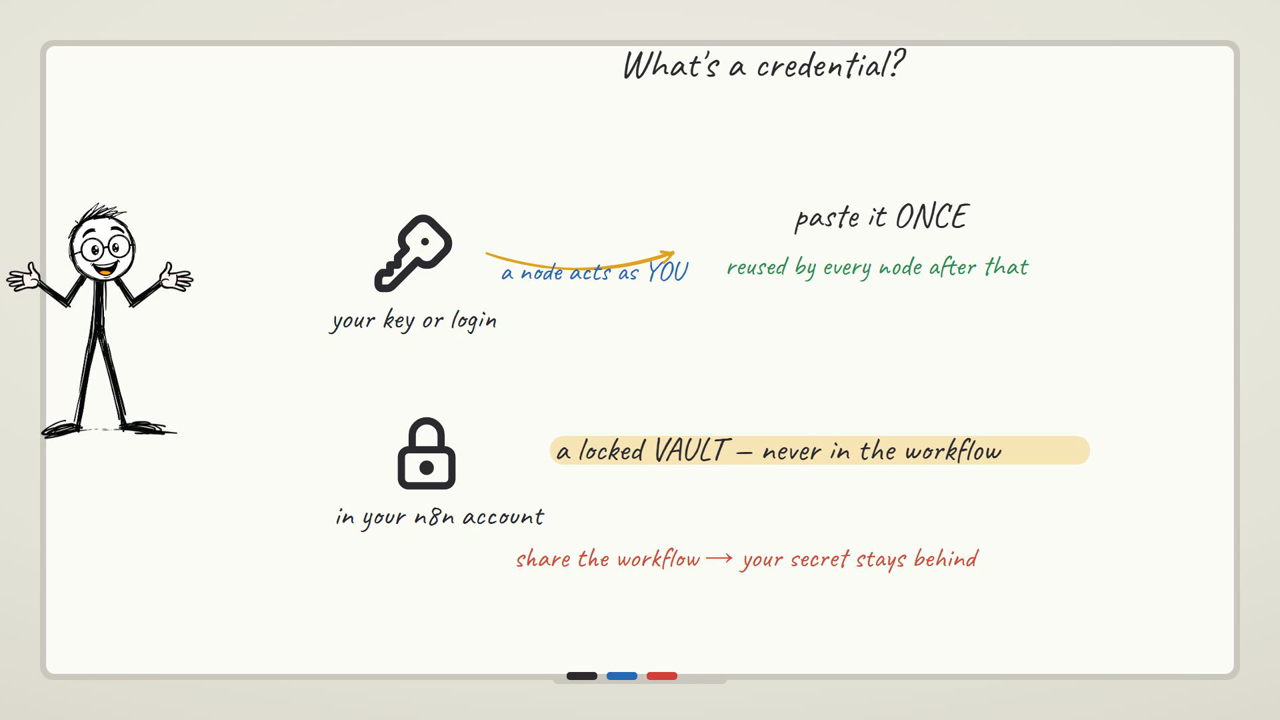
The reassuring caveat: pasting a real secret into that field on a shared screen is safe, because it renders as dots the instant you type or paste — there's no "reveal" toggle to worry about accidentally hitting. The actual risk with credentials isn't the field, it's reusing one key across a dozen workflows and then having no idea which ones would break if you rotated it — name your credentials clearly from the start.
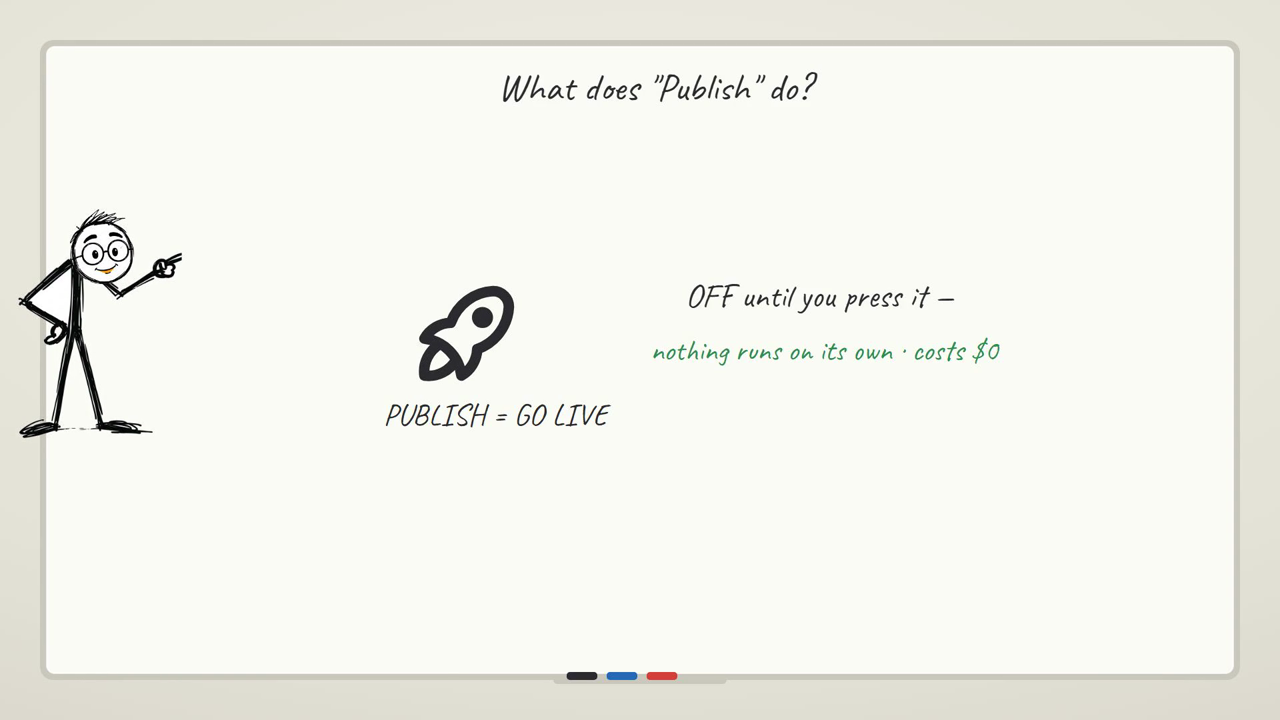
Publish — OFF until you press it
A workflow you're building sits in draft the entire time — running it with Execute workflow is just you testing it, and nothing outside n8n can trigger it yet. To make it actually live — so a Schedule Trigger fires on its timer, or a Webhook responds to real calls — you press Publish. Older n8n guides you'll find online talk about an "Active" toggle; that's gone in the current UI. The button that goes live now is Publish.
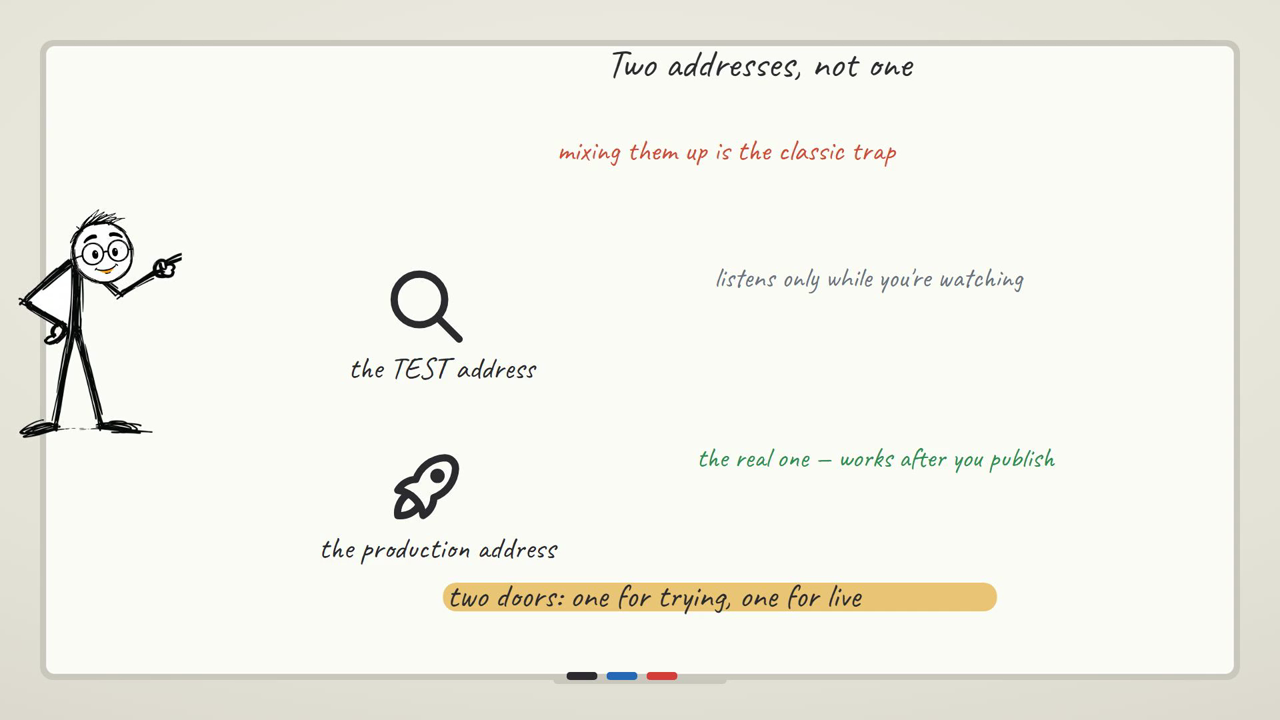
The caveat: a Webhook trigger actually has two addresses the whole time you're building — a test URL that only works while you're actively testing inside the editor, and a production URL that only starts responding once you've published. Point an external service at the test URL and it'll work for exactly as long as your editor tab is open and listening, then quietly stop — that's not a bug, it's the test/production split doing its job.
One question comes up before anyone even opens the editor: where does this actually run? You get a choice, and it doesn't change anything you just read above — same nodes, same canvas, same everything.
| Self-hosted (community edition) | n8n Cloud | |
|---|---|---|
| Cost | Free — it's open-source, you run it yourself | Paid, billed by usage — check n8n's own pricing page for current numbers |
| Setup | One Docker command, a few minutes | Sign up, nothing to install |
| Runs when | Only while your own machine or server is on | Always on, n8n hosts it for you |
| Best for | Learning, tinkering, workflows that don't need to survive your laptop closing | Not wanting to think about servers at all, or a workflow that has to run 24/7 without your own infrastructure |
Neither one is the "real" version — everything in this guide, including the Bitcoin workflow you're about to build, works identically either way.
Part 2 — one thread, built
Enough vocabulary. Here's the one thing you're actually going to build, and everything above is now just the words for what you're about to do: a workflow that fetches the live price of Bitcoin and hands you back the plain number, on a canvas you built yourself.
Open n8n (self-hosted or cloud, it doesn't matter which for this) and start a new workflow. You're looking at a blank canvas with nothing on it — that's correct, that's the starting point every workflow has.
Step 1 — add the trigger. Click the + on the empty canvas and add a Manual Trigger. This is your on-demand switch — you'll press a button and the whole chain runs right now, which is exactly what you want while you're building and checking each step.
What it looks like when this goes wrong: nothing goes wrong here, really — but if you click the canvas + expecting the node search and instead see a completely different menu (new workflow, new credential, new data table), you clicked the wrong +. There's one in the top-left that opens that other menu; the one that adds a node to your canvas is the one sitting on the empty canvas itself.
Step 2 — add the HTTP Request node. Click the little + on the trigger's right edge to add the next node. Search "HTTP Request" and add it. In its URL field, paste:
https://api.coingecko.com/api/v3/simple/price?ids=bitcoin&vs_currencies=usd
This is a free, public price API — no key needed. Press Execute step. If it worked, the output panel fills with something shaped like {"bitcoin": {"usd": 68000}} — a box called bitcoin, holding a number called usd.
What it looks like when this goes wrong: CoinGecko's free tier occasionally rate-limits or briefly times out if you've hit Execute step several times in quick succession while experimenting — you'll see a "connection timed out" message where you expected data, and the output panel just... doesn't fill. It isn't your URL. Wait a few seconds and press Execute step again; if you're testing a lot, space your runs out rather than mashing the button. It's also worth switching the output view to Schema the first time — Table will show you a flat, half-useful row, and Schema shows you the actual nested shape (bitcoin → usd) that you're about to point an expression at.
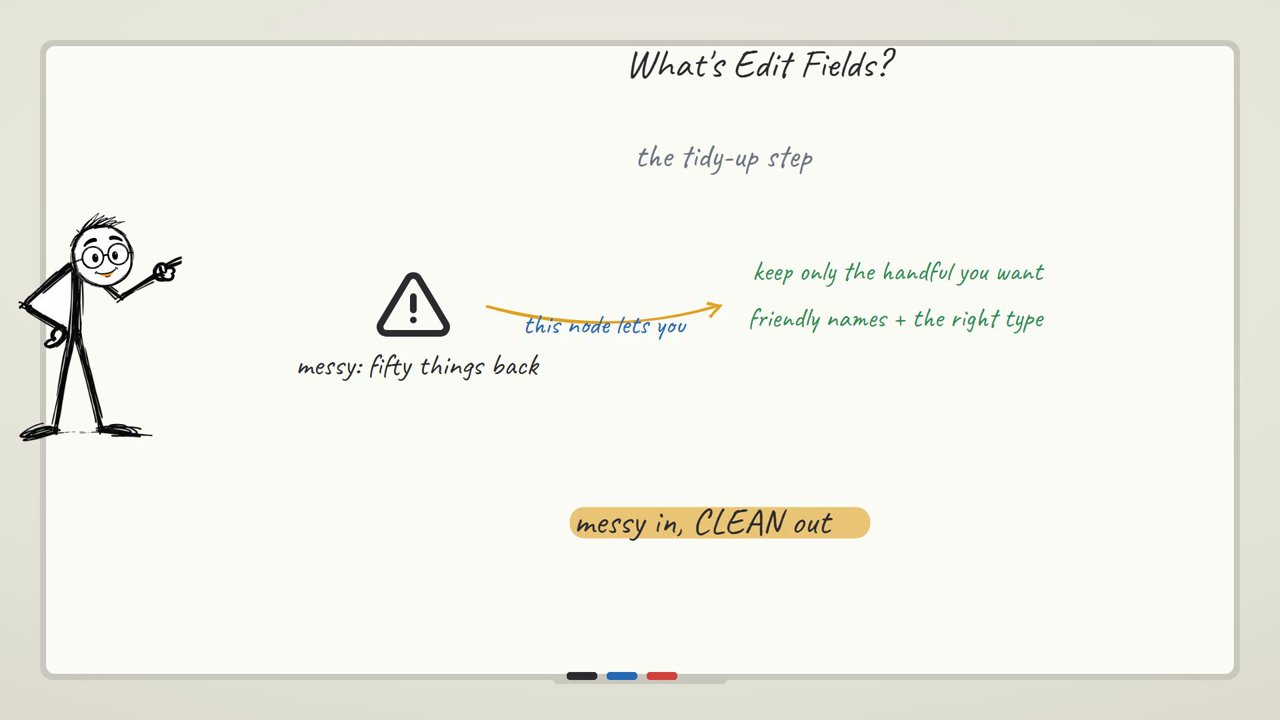
Step 3 — pull out just the number. Add one more node: search "Edit Fields" and add Edit Fields (Set). This node's whole job is tidying — taking a messy response and handing back exactly the clean value you actually wanted. Add one field, name it price_usd, and for its value, click into the Schema view of the previous node's output and click the usd field directly rather than typing the expression by hand — it drops in {{ $json.bitcoin.usd }} for you, correctly bracketed.
What it looks like when this goes wrong: if you type the expression yourself instead of clicking it in, and you type the opening {{ character by character, the editor auto-inserts the closing brace — so what you meant to write as {{ $json.bitcoin.usd }} comes out {{ $json.bitcoin.usd }} }}, and the field just shows an error or an empty result with nothing obviously wrong at a glance. If your clean field comes back blank, this doubled-bracket problem is the first thing to check — clear the field entirely and click the value in from Schema instead of retyping it.
Step 4 — run the whole thing. Press Execute workflow (not Execute step this time — you want to see the whole chain, not just the last node). Watch each node light up in turn. Click the final Edit Fields node, and there it is: price_usd, holding the actual current Bitcoin price, fetched live, seconds ago, by a workflow you built node by node.
What it looks like when this goes wrong, one more time: if the workflow ran and reports success but your final field is empty or missing, don't assume the last node broke — go back to the HTTP Request node's output first. A green checkmark on every node only tells you the run didn't error; it doesn't tell you the data was what you expected. That's exactly why the output panel habit from Part 1 matters here more than anywhere else.
That's the whole shape: trigger → fetch → shape the data → read the result. Every workflow you'll ever build in n8n is some version of that same pattern, with different nodes standing in for "fetch" and "shape."
If this is the point where n8n clicked for you, subscribe and I'll email you when the next tutorial lands — one email per build, with the workflow and the exact settings, including the mistakes that cost me hours so they don't cost you any. Free, and one click gets you off the list.
Part 3 — where each bigger topic goes next
What you just built handles one API and one clean value. Real automations deal with messier situations, and each one below is its own full guide because each deserves the same node-by-node treatment this one just gave you.
When your data isn't one clean number. APIs rarely hand you a single value — they hand you lists of ten items, nested objects three boxes deep, dates in formats you didn't ask for, and fields you need to filter, merge, or reshape before they're useful. The data handling guide covers the Filter node (keeping only the items that match a condition), the Merge node (bringing two branches back together), the Code node, dates, and the Aggregate node that collapses many items into one.
When you need more than one API, or the API isn't a clean JSON endpoint. Some of the most useful automations pull from a page that isn't an API at all — scraping structured data out of an ordinary web page — or need to combine two different live sources into one decision. The APIs and live data guide goes there, including weather, exchange rates, GitHub, scraping and RSS feeds.
When you want the workflow to think, not just move data. Everything in this guide was rigid — the same steps every time. An AI Agent node changes that: it can reason about what it's given and decide what to do next, and it can call tools (a calculator, a document lookup, your own data) mid-thought rather than just answering from memory.
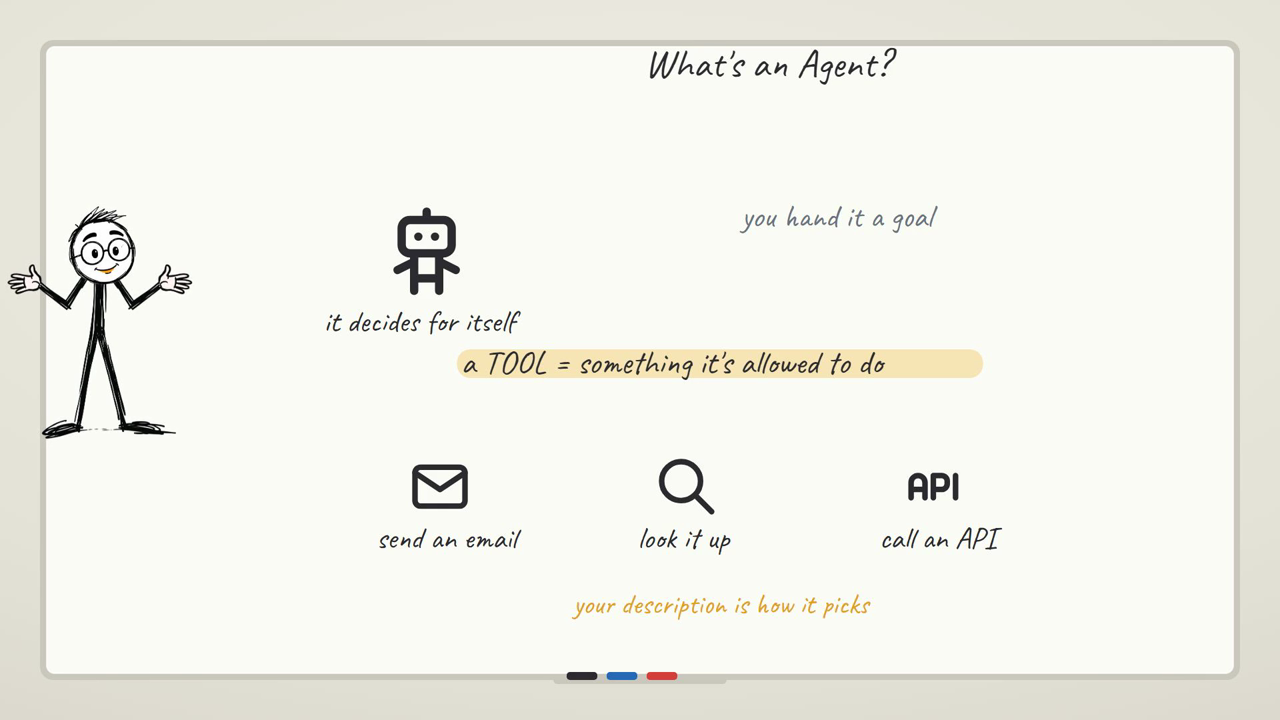
The AI agents guide builds one from scratch, including why the Agent node looks different from every other node you've used (its "brain" and its tools attach underneath it, not in a straight line) and how to give it memory across a real conversation. If you want to see that same idea pointed at a real inbox, the free AI Telegram bot build is an agent answering actual customer messages, no monthly AI bill.
When you want to see the pattern applied to something real. Once the vocabulary is second nature, the fastest way to get better is watching it solve an actual problem — a price monitor that alerts you, a pipeline that repurposes content, a support inbox that routes itself. The three real automations guide walks through three, start to finish.
A few narrower guides worth knowing exist, each covering one thing properly rather than in passing: your very first workflow built slowly, running n8n for free with Docker instead of paying for cloud, running an AI agent with no API key at all using a local model, the Schedule Trigger for workflows that run themselves on a timer, webhooks for workflows other apps can call, and the IF node on its own for branching logic in depth. Every guide on this site links back up to this one — if you ever lose the thread, this is home.
When something breaks
It will, and that's normal — the useful thing is knowing that most n8n "bugs" are a handful of the same few problems wearing different clothes. These three come up constantly, and each one is written the way you'd actually search for it at the moment it happens:
- Your HTTP Request node returns HTML instead of JSON — the node goes green, and the output is a web page. Almost always authentication, and there's a reason it works in your browser but not in n8n.
- A boolean condition throws "wrong type" — or silently does the opposite — the same mismatch produces two opposite outcomes depending on one setting most people never open.
- Google OAuth2 fails with "Unauthorized" on self-hosted — even when the redirect URI looks exactly right, because on self-hosted n8n that URI is built from an environment variable.
You can also browse everything n8n on the site from the n8n hub.
Where you'd actually use this
The Bitcoin workflow is deliberately small so the vocabulary sticks — but the same four-step shape (trigger → fetch → shape → act) is what real people are running every day. Here's what that looks like once you stop practicing and start building for yourself.
A daily digest email instead of checking five things by hand
Swap the Manual Trigger from Part 2 for a Schedule Trigger set to run once every morning, and instead of one HTTP Request, chain a few — your weather API, a crypto price, whatever numbers you actually care about starting your day with. An Edit Fields node tidies each response into one clean value the way you already did with the Bitcoin price, and a final Email or Slack node sends the lot as one message. You'd reach for this over checking five apps yourself for the obvious reason: it runs at 7am whether you're awake for it or not, and the caveat from Part 1 still applies here — a Schedule Trigger you forget to double-check is a job that's already live.
An alert the moment a price crosses a line you set
Take the same HTTP Request to CoinGecko from Part 2, but instead of just reading the number, follow it with a Filter or IF node that checks whether the price crossed a threshold you care about — and only sends a Slack or email alert when it actually does. Run the whole thing on a Schedule Trigger every few minutes. This is the shape behind most "notify me when X happens" automations, and the reason it beats sitting there refreshing a page is that the workflow only bothers you when the condition is actually true — everything else runs silently in the background.
A form that files itself instead of landing in an inbox to sort later
Replace the trigger with a Webhook that a form (contact form, signup form, support request) posts to the moment someone submits it. An Edit Fields node reshapes the submission into the clean fields you actually want, and from there it can log a row to a spreadsheet, create a card on a board, or ping the right person on Slack — all in the same run, before the person who filled it out has even closed the tab. You'd build this over just "checking the inbox later" because the routing happens instantly and consistently, without you deciding by hand, every single time, which submissions matter.
FAQ
Is n8n actually free, or does it just look free until I hit a paywall?
The self-hosted community edition is genuinely free — open-source, no trial clock, no execution limit. You run it on your own computer or a cheap server with one Docker command and it's yours indefinitely. n8n also sells a paid Cloud version (hosted for you, billed per workflow execution) — that's the version most tutorials show by accident, and it's optional, not required.
Do I need to know how to code?
No. Everything in this guide — trigger, HTTP Request, Edit Fields — was built by clicking, searching, and pointing at data, not writing code. There's an optional Code node for people who do want to drop in JavaScript, and expressions occasionally look code-like ({{ $json.bitcoin.usd }}), but that's pointing at a value, not programming.
What's the actual difference between n8n Cloud and self-hosting?
Same application, same nodes, same AI Agent support. Cloud is hosted for you and billed by usage; self-hosted runs on your own machine or server for free, with the one trade-off that it's only "on" when your machine or server is. Everything you build in one works in the other.
Is n8n hard to learn if I've never automated anything before?
The individual pieces are simple — a node does one job, a trigger starts things, an expression points at a value. What actually takes beginners time isn't any single concept, it's getting used to reading the output panel instead of guessing. Follow the build in Part 2 once, end to end, and the pattern behind almost every workflow clicks.
Where do I actually start if I've read this whole thing?
Build the workflow in Part 2 yourself rather than just reading it — the Bitcoin-price one, start to finish, on your own n8n instance. Once that one green run happens for you, the four-guide path in Part 3 (data handling, APIs, AI agents, real automations) is genuinely ordered for what you'll want next.
Do AI agents in n8n cost money to use?
It depends what "brain" you attach. Connecting a model like GPT costs a small amount per call, billed by that provider, not by n8n. You can also run a model locally with a free tool called Ollama and attach that instead — the no-API-key guide walks through exactly that, and it costs nothing per run.
What is MCP, and do I need it as a beginner?
MCP is a way for an AI agent to reach out and use tools outside of just answering with words — looking things up, taking actions, calling other systems — in a standard way rather than a one-off integration for each one. You don't need it for anything in this guide; it becomes relevant once you're building agents that need to actually do things, not just respond.
I'm stuck on something this guide doesn't cover. Where do I actually ask?
Start with n8n's own documentation — it's kept current with the UI and is the first place to check an exact field name or node behavior. For a specific error or an edge case nobody's written about yet, the n8n community forum is active and mostly answered by people who've hit the same wall — searching your exact error message there before posting usually turns up someone else's fix.
My workflow ran green but the data looks wrong. What do I check first?
A green checkmark on Execute workflow means the run didn't error — it says nothing about whether the data flowing through was what you actually wanted. Open the output panel on the node right before the one that looks wrong and read it in Schema view. Almost every "it ran fine but the result's wrong" problem in this guide traces back to that one habit.
Can I use n8n without installing anything, just to try it?
Yes — n8n Cloud offers a hosted trial with no install, which is the fastest way to follow along with this guide once before deciding whether to self-host. Everything you build transfers conceptually; only the hosting changes.
Is n8n better than Zapier or Make for a beginner?
For pure ease of first click, Zapier's simpler UI is arguably gentler. n8n's edge is that it's free to self-host with no execution cap, shows you the full data at every step (which is what actually teaches you automation instead of hiding it), and has AI Agent nodes built in rather than bolted on. If you're planning to go past simple two-step zaps, the time you spend learning n8n's extra vocabulary pays back quickly.


