Most n8n tutorials teach nodes one at a time, in isolation, with a fresh toy example for each one. You watch six videos and end up with six disconnected demos — a filter that keeps expensive coins, a loop that does nothing useful, a merge of two unrelated lists. None of it looks like the workflow you actually want to build.
New to n8n? Start with the complete beginner's guide — every concept explained once, with the whiteboard diagrams, then come back here.
Real automations don't use one of these nodes. They use most of them, in sequence, on the same data, because raw data is never in the shape you need. This guide builds ONE workflow from top to bottom — pulling a feed of items, cleaning it up, and turning it into a single daily summary — and each section is the next step in that build. By the end you'll have built a real workflow, and you'll understand why each node exists, not just what button to click.
The mental model: n8n moves ITEMS, and every node does one of three things to them
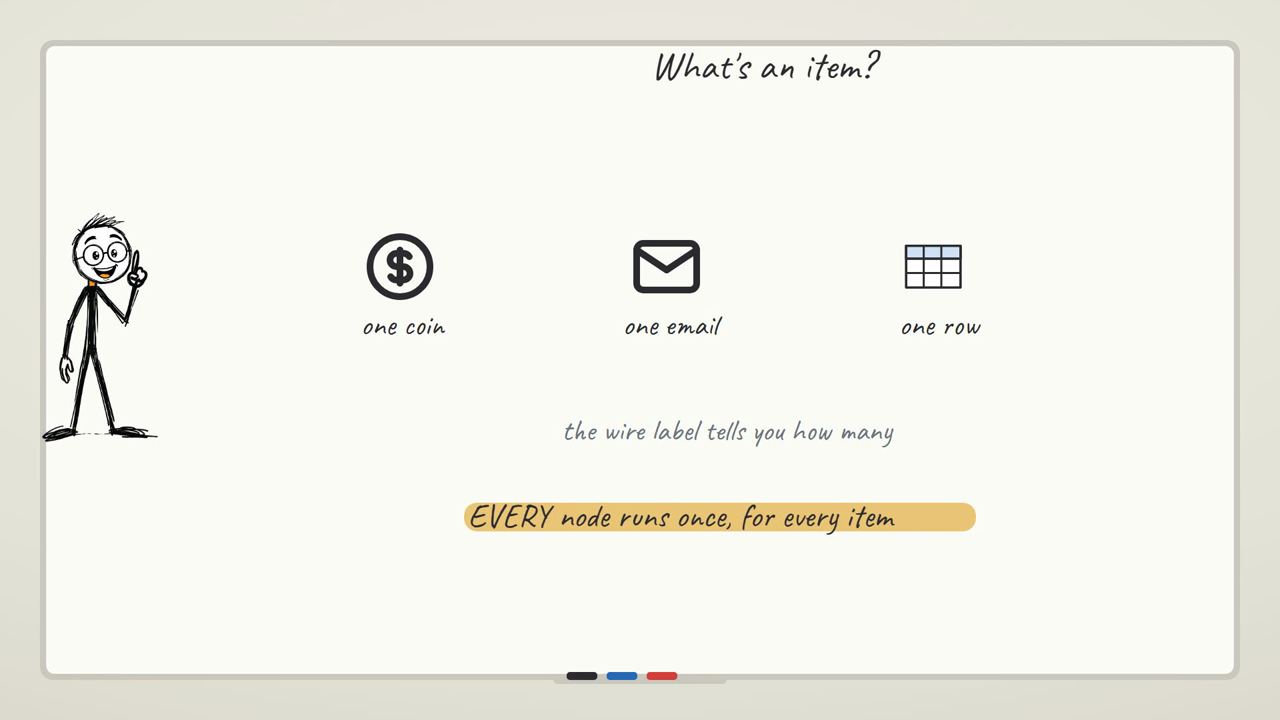
Before any of the six nodes, one idea that makes the rest of this guide click: n8n workflows pass data around as a list of items (JSON objects), one node's output feeding the next node's input. Every node in this guide only ever does one of three things to that list:
- Changes how MANY items there are. Filter drops some. Aggregate collapses many into one.
- Changes what's INSIDE an item. Code and Date & Time add or rewrite fields on the items you already have.
- Changes the SHAPE of the data — how many separate streams there are. Merge takes two streams and makes one. Loop Over Items doesn't change count or shape so much as change how you process the list — one item (or small batch) at a time instead of all at once.
That's it. Once you stop thinking "the Filter node" and "the Aggregate node" as unrelated tools and start asking "does this change the count, the contents, or the shape," the six nodes stop being six things to memorize. You'll see this called out again in each section so it sticks.
If you haven't built a workflow in n8n before, start with your first workflow — this guide assumes you can add a node and click Execute. Everything else, we build here.
Before you build anything, here's the question that actually decides which of the six you reach for:
Which node do you actually need?
The running scenario
You're pulling a live feed and turning it into one daily summary. We'll use CoinGecko's free markets endpoint as the stand-in data source (no API key, so you can follow along right now) — but the exact same steps apply if your real feed is orders, support tickets, or articles from an RSS feed:
- Filter — drop the items you don't care about.
- Loop Over Items — do something to each surviving item, one at a time.
- Merge — bring in a second source and combine it with the first.
- Code — do the one thing no node has a button for.
- Date & Time — stamp the data with a readable timestamp.
- Aggregate — roll everything back into the single item you actually send.
Start every one of these from a Manual Trigger → HTTP Request pair. The HTTP Request node hits CoinGecko's markets endpoint:
https://api.coingecko.com/api/v3/coins/markets?vs_currency=usd&order=market_cap_desc&per_page=10&page=1
Execute it and you get 10 items back, each shaped like { id: "bitcoin", name: "Bitcoin", current_price: 68210, ... }. That's your feed. Now let's work through it.
1. Filter — drop the items you don't want
This is "how many items" work: fewer items out than went in, same shape, same fields.
Add a Filter node after HTTP Request (search "Filter" in the node picker — the row you want says "Keep only items matching a condition"; a similarly-named "Edit Fields (Set)" row sits right next to it, so read the description, not just the icon).
The condition UI has three parts: a left value, an operator, and a right value. Set the operator first — switching the condition's data type (String to Number) clears whatever you've already typed into the value fields, so if you fill in the left value before picking Number, you'll lose it. Set the type to Number, the operation to "is greater than," then set:
- Left value:
{{ $json.current_price }} - Right value:
1000
Run it. Out of the 10 coins, the output panel shows two tabs: Kept (2 items) and Discarded (8 items). That's the whole node — a list of 10 goes in, a list of 2 comes out, and every field on those 2 items is untouched.
The one gotcha: the right-hand value field does not clear itself when you type into it a second time. If you retype a new threshold without clearing the box first, you get something like 1000500 stuck together instead of 500. If your "Discarded" count looks wrong, check that field for a run-on number before you touch anything else.
Filter is not the same job as the IF node — IF splits one stream into two branches (true and false) so you can send each branch somewhere different; Filter just throws away what doesn't match and keeps everything flowing down one path. If you need to route items two different ways, that's IF's job, not Filter's — see that guide.
2. Loop Over Items — handle a big list without doing it all at once
This is a "how you process the list" node, not a count or shape change on its own.
Add Loop Over Items after your Filter (or after HTTP Request if you want to loop the full 10). Search "Loop" in the node picker and pick Loop Over Items — split data into batches. The moment you add it, n8n does something the other nodes don't: it auto-builds the entire loop structure for you — the Loop Over Items node appears with two outputs, labelled loop and done, and a placeholder node called Replace Me already wired on the loop output, looping back around to the Loop node's input. You didn't wire any of that by hand.
Set the batch size to 1 (the field is literally called batch size) so it processes one item per pass — useful when the next step is something you can't safely fire off ten times at once, like sending ten separate Slack messages or hitting a rate-limited API.
That "Replace Me" placeholder is the point: swap it for whatever your one-item action is — a Set node to build a message, an HTTP Request to notify someone, whatever. The loop output feeds back into the Loop node itself, so the same chain of nodes runs again for the next item; the done output only fires once every item has gone through, and that's where the rest of your workflow continues.
Run the whole workflow (not just "Execute step" — you want to see the loop actually iterate). Watch it fire once per item; with 6 items you'll see it cycle six times before the done branch lights up.
The one gotcha: it's easy to build your one-item logic hanging off the done output instead of the loop output by mistake, especially once the canvas gets busy with several nodes. If your per-item action only seems to run once total instead of once per item, you've wired it to the wrong output — check which of the two labelled outputs (loop vs. done) your downstream node is actually connected to.
3. Merge — combine two branches into one
This is a shape change: two separate item streams become one.
For our scenario, imagine Filter already gave you a "premium" branch (price over $1000) and there's a second branch of everything else — maybe you still want a combined report, not just the discarded pile thrown away. Add an IF node after HTTP Request with the same condition as Filter (Number, "is greater than," {{ $json.current_price }} compared to 1000) — IF gives you TWO outputs, true and false, instead of Filter's keep/discard.
Add a Merge node off the IF node's true output. Its Input 1 auto-wires from that connection. Now drag a connection from the IF node's false output to Merge's Input 2 — this is a manual drag between two handles on the canvas, not a picker search, so take it slow.
Run the workflow. You'll see the edges show the split happening in real time — 2 items down the true path, 4 down the false path in our 6-coin example — and Merge (left on its default "Append" mode) puts them back together as 6 items, no data lost, no fields changed. The split and the rejoin are both visible on the canvas as the run happens.
The one gotcha: Merge has more than one mode (Append is the default, but there's also Combine, which matches items by a shared field instead of just stacking them). If your merged output has fewer items than you expected, or fields you didn't expect to see combined, check the mode first — it's easy to leave Merge in a mode that assumes you want to match rows together when you actually just wanted to append two lists.
4. Code — the one thing no node has a button for
This changes what's inside each item — you add or rewrite fields with real JavaScript.
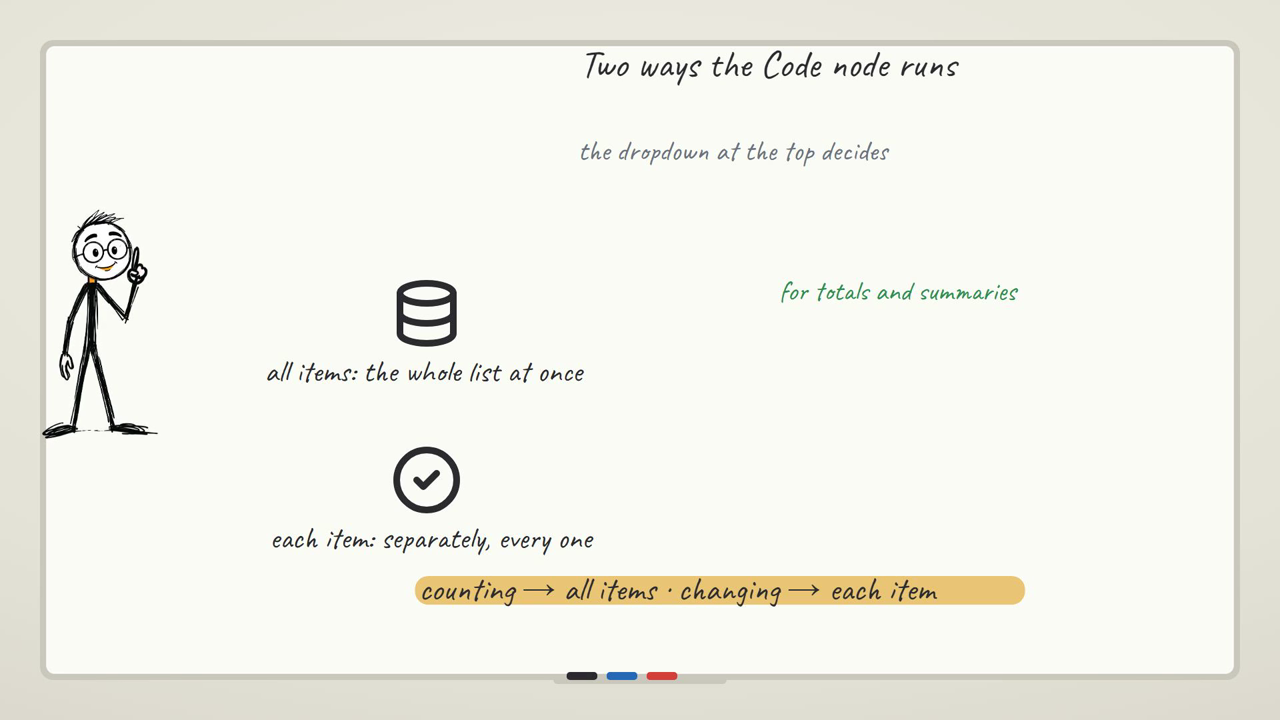
Every one of the nodes so far solves a shape you can point-and-click. Sooner or later you'll hit something none of them cover — building a custom formatted string, doing a calculation across several fields, reshaping a nested object. That's the Code node.
Add Code after your HTTP Request (search "Code," then click "Code in JavaScript" from the sub-panel that opens — the initial search result is a category, not the node itself). The default code it drops you into is already a working example:
for (const item of $input.all()) {
  item.json.myNewField = 1;
}
return $input.all();
That's the whole pattern: loop over every item with $input.all(), read or write fields on item.json, and return the array. For our scenario, replace it with something that actually reads the data flowing through:
for (const item of $input.all()) {
  item.json.label = item.json.name + ': $' + item.json.current_price;
}
return $input.all();
Run it and the output panel shows every item with the new label field sitting alongside the original ones — nothing removed, one thing added.
The one gotcha: if you paste an expression with curly braces directly into the code editor by typing it character by character, the editor's auto-closing brackets can double up on you — you'll end up with something like {{ ... }} }} and a script that silently doesn't do what you wrote. If a Code node's output doesn't reflect what you think you typed, select all the code, delete it, and paste the whole block in one action rather than typing the brackets by hand.
5. Date & Time — stamp your data so it's actually readable
This is a "what's inside an item" change too — same count, same shape, one more field.
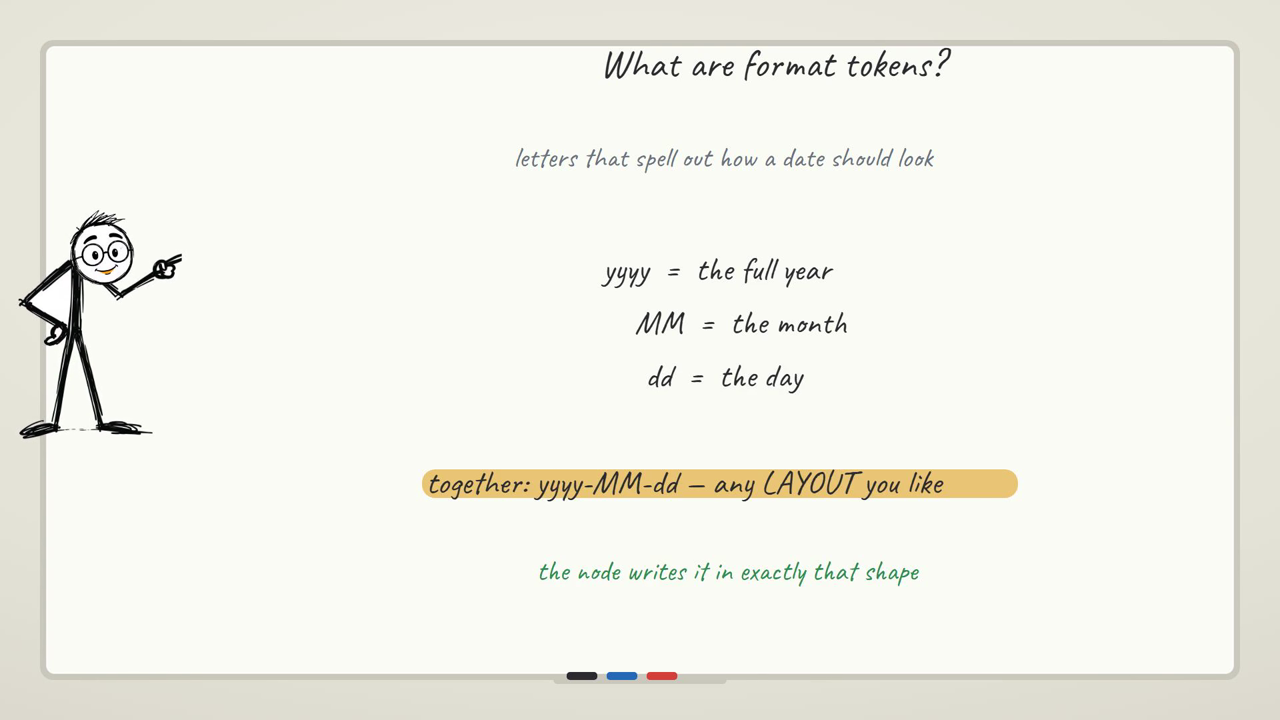
A daily summary needs a timestamp, and raw JSON timestamps are rarely in a form a human (or a message you're about to send) can read comfortably. Add a Date & Time node — search "Date" and pick the operation Get Current Date from the sub-panel of options that appears (there are several: Get Current Date, Format a Date, Add to a Date, Subtract, Get Time Between Dates, Round a Date — Get Current Date is the reliable, no-expression-needed starting point).
Set the output field name — the default is currentDate, but rename it to something that means something in your workflow, like checkedAt. Run it and the output shows that field stamped with the current timestamp, e.g. checkedAt: 2026-08-03T18:55:45.930-04:00, alongside every field you already had.
The one gotcha: the other Date & Time operations, like Format a Date, need their date input switched into expression mode before you can point it at {{ $now }} or another node's timestamp — leaving that field as a plain typed value instead of an expression gives you an "Invalid date format" error, because n8n is trying to parse the literal text {{ $now }} as a date string rather than evaluate it. If you see that exact error, check whether the date field is in expression mode.
6. Aggregate — collapse everything into the one item you send
This is the "how many" change in reverse: many items become one.
You've filtered the noise out, looped or merged what you needed, added your own fields, and stamped a timestamp. Now you need the single item to actually send — one Slack message, one email, one row — not six or ten separate ones.
Add an Aggregate node at the end of the chain. Its default operation is Aggregate Individual Fields; type the name of the field you want collected — for our scenario, name — into the field-to-aggregate box. Run it and the output panel collapses your whole list into 1 item holding an array of every value that field had: name: [Bitcoin, Ethereum, Tether, BNB, USDC, XRP]. Six items became one.
That one item, with an array field like that, is exactly the shape a message-formatting step wants — join the array into a sentence, drop it into an email body, whatever your destination is.
The one gotcha: Aggregate only rolls up the ONE field you name (or, in other modes, every field) — if a downstream step is still expecting six separate items instead of the one aggregated item, the count mismatch usually traces back to a step that ran before the Aggregate node instead of after it. Check where in the chain you placed it; Aggregate has to be the last thing that touches item count before you send.
If you've been building this section by section, look at what you've got: Filter dropped the noise, Loop or Merge handled the shape of the list, Code and Date & Time filled in exactly what you needed inside each item, and Aggregate turned the whole thing into the one item you actually act on. That's a complete, real data pipeline — not six demos, one workflow.
Here's all six side by side, so you can come back to this table instead of re-reading the sections above once you already know the nodes:
| Node | What it changes | Use it when | The gotcha |
|---|---|---|---|
| Filter | Count — fewer items out, same fields | You want to drop items that don't match, permanently | Switching the condition's type clears values already typed; the right-value field appends instead of replacing on a retype |
| Loop Over Items | Neither count nor shape — how you process the list | The next step can't safely run on everything at once (rate limits, one message per item) | Wiring your per-item logic to done instead of loop — it'll run once instead of once per item |
| Merge | Shape — two streams become one | You've got two branches or two sources that need to end up as one list again | Append (default) just stacks lists; Combine matches by field — leaving it in the wrong mode gives fewer or oddly-joined items |
| Code | Contents — you add or rewrite fields with JavaScript | Nothing built-in covers the transform (a calculation, a custom string, reshaping nested data) | Typing expressions character-by-character can double up auto-closing braces into {{ ... }} }} — paste the whole block instead |
| Date & Time | Contents — one more field, timestamp related | You need a readable timestamp or "now" stamped on the data | Operations like Format a Date need the input switched to expression mode, or you get "Invalid date format" |
| Aggregate | Count — many items collapse to one | You need to send ONE thing (one message, one row) instead of several | It only rolls up the ONE field you name (or every field, in other modes) — a downstream mismatch usually means Aggregate is in the wrong place in the chain |
Where you'd actually use this
Daily coin-price digest to Slack
This is the exact scenario above, taken to its actual destination. HTTP Request pulls the CoinGecko feed on a schedule, Filter keeps only coins over your price threshold, Code builds a one-line string per coin, and Aggregate collapses the survivors into a single array you join into one Slack message. Without Aggregate at the end you'd be sending one Slack message per coin — technically correct, and completely unreadable.
Support tickets that need one-at-a-time handling
A support queue comes in as a batch of, say, eight tickets from a Google Sheets read. You can't blast all eight into an AI-classification API at once if that API rate-limits you — so Loop Over Items processes them one at a time, with the classification call and a Slack notification sitting on the loop output. The done output only fires once every ticket's been through, which is where you'd trigger a "queue processed" summary.
Weekly report that only includes what changed
You're pulling this week's data and last week's data as two separate HTTP Request calls, then using Merge in Combine mode to match records by ID so you can see old value next to new value. Filter drops anything where the values are identical — no change, nothing worth reporting. What's left is genuinely just the differences, and Date & Time stamps the report with when it ran, so a report with nothing in it (a quiet week) still reads as "checked, nothing changed" instead of looking broken.
If workflows like this are useful to you, subscribe and I'll email you when the next one lands — one email per tutorial, with the workflow and the exact settings, including the mistakes that cost me hours so they don't cost you any. Free, and one click gets you off the list.
Putting it together: the pipeline in order
For the full running scenario, the node order looks like this:
Manual Trigger
  → HTTP Request (fetch the feed)
  → Filter (drop what you don't care about)
  → Loop Over Items (handle survivors one at a time, if the next step needs it)
  → Merge (bring in a second source, if you have one)
  → Code (the one custom transform no node covers)
  → Date & Time (stamp it)
  → Aggregate (collapse to the one item you send)
Not every workflow needs all six in that exact order — a simple daily digest might skip Loop and Merge entirely and just go Filter → Code → Date & Time → Aggregate. The point isn't that you always use all six; it's that when your data doesn't come out the way you need it, one of these three questions (does it have too many items, are the contents wrong, or is the shape wrong) tells you which node to reach for.
Once your data is in shape, the natural next step is getting it from somewhere real — a live API, a page with no API at all, or a feed. That's covered in the APIs and live data guide, and you can browse the rest in the n8n hub.
FAQ
What's the difference between the Filter node and the IF node?
Filter keeps items matching a condition and throws the rest away — one stream in, a shorter version of the same stream out. IF takes one stream and splits it into two separate branches (true and false) so you can send each branch to a different place. If you just need to trim a list, use Filter. If you need to do different things depending on the condition, use IF — see the IF node guide for the full walkthrough.
Why did my Filter condition stop working after I changed the value type?
Switching a condition's data type (for example from String to Number) clears both the left and right values you'd already typed in. Always set the operator and type first, then fill in your values — not the other way around.
Does Loop Over Items make my workflow run faster?
No — if anything it's usually slower, since it processes items one (or a small batch) at a time instead of all at once. You use it when the next step can't safely handle everything at once — an API with a rate limit, an action you don't want to fire off in a burst, or a step where one item failing shouldn't stop the rest. If speed is all you care about and the next node can handle a full list, you don't need a loop.
Can I use Merge to combine data from two totally different APIs?
Yes. Merge doesn't care where each input came from — it just needs two streams wired into its two inputs. The default Append mode just stacks both lists together; if you actually need to match up related records across the two sources (like joining an order to its customer), look at Merge's Combine mode instead, which matches items by a field you choose rather than just appending them.
When should I reach for the Code node instead of a built-in node?
When what you need doesn't map to a single button — a calculation across multiple fields, a custom string format, reshaping deeply nested data, or logic that would take several chained nodes to express. If a built-in node already does it (Filter, Set, Aggregate, Date & Time), use that first; it's easier for you (and anyone else looking at the workflow later) to read at a glance than a block of JavaScript.
Why does my Date & Time node say "Invalid date format"?
This almost always means a date field was left as a plain typed value instead of switched into expression mode, and n8n is trying to parse the literal characters {{ $now }} (or similar) as if they were an actual date string. Switch the field to expression mode before typing an expression into it.
Why does my Aggregate node only show one field when I need several?
The default "Aggregate Individual Fields" mode only collects the ONE field name you type in. If you need several fields rolled up together, you add multiple aggregate rows (one per field) rather than expecting one row to grab everything — check how many field entries you've actually added.
Do these nodes cost anything to run?
No — Filter, Loop Over Items, Merge, Code, Date & Time, and Aggregate are all core n8n nodes with no external API calls of their own. The only cost in this guide's example comes from whatever data source you're fetching (our CoinGecko example needs no key and is free). If you're self-hosting n8n for free, see the Docker setup guide.
What if my real data isn't a price feed — does this still apply?
Yes. Swap the HTTP Request node for whatever your real feed is — an RSS Read node, a Google Sheets read, a webhook payload — and every node from here on works exactly the same way, because they all operate on the same thing: a list of JSON items. That's the whole point of the mental model at the top of this guide — once you know whether you need to change the count, the contents, or the shape, the node choice follows from the data, not from memorizing six unrelated tools.


